Simple Card Layering Techniques for Beginners: How to Start Layering in Cardmaking with Confidence
Discover the Magic of Simple Layers in Cardmaking
If you’re new to cardmaking or feel like your designs are falling a little flat, this month’s theme is just for you! In May, we’re exploring Simple Layers—one of the easiest and most effective ways to give your handmade cards that polished, professional look.
This week’s sub-theme, Getting Started with Layers, is all about building your creative confidence by learning how to add depth and visual interest to your cards using just a few easy techniques. You don’t need a pile of supplies or advanced skills—just a willingness to play, experiment, and enjoy the process.
Watch It in Action!
Curious how simple layers come together on a handmade card? In this quick video, I’ll walk you through each step so you can see the process unfold in real time. Perfect if you’re a visual learner or just want a bit of extra inspiration before you dive in!
My Beginner Cardmaking Journey: From Flat to Fabulous
I still remember the first card I made. It was a simple stamped design on plain cardstock. While I was proud of it, it didn’t quite have the “wow” factor I was seeing in other creators’ work. I had no idea that adding just one or two extra layers could make such a big difference.
Once I started layering with intention—adding cardstock mats, patterned papers, or textured elements—my confidence grew, and so did my joy in creating. If you’ve ever wondered how to start layering your cards, I promise it’s simpler than it seems.
What Is Layering in Cardmaking?
In paper crafting, layering means adding different paper elements—like background mats, focal panels, or embellishments—to build dimension. It’s like dressing up your card with a few well-chosen accessories that make everything pop.
Want to see how it looks in action?
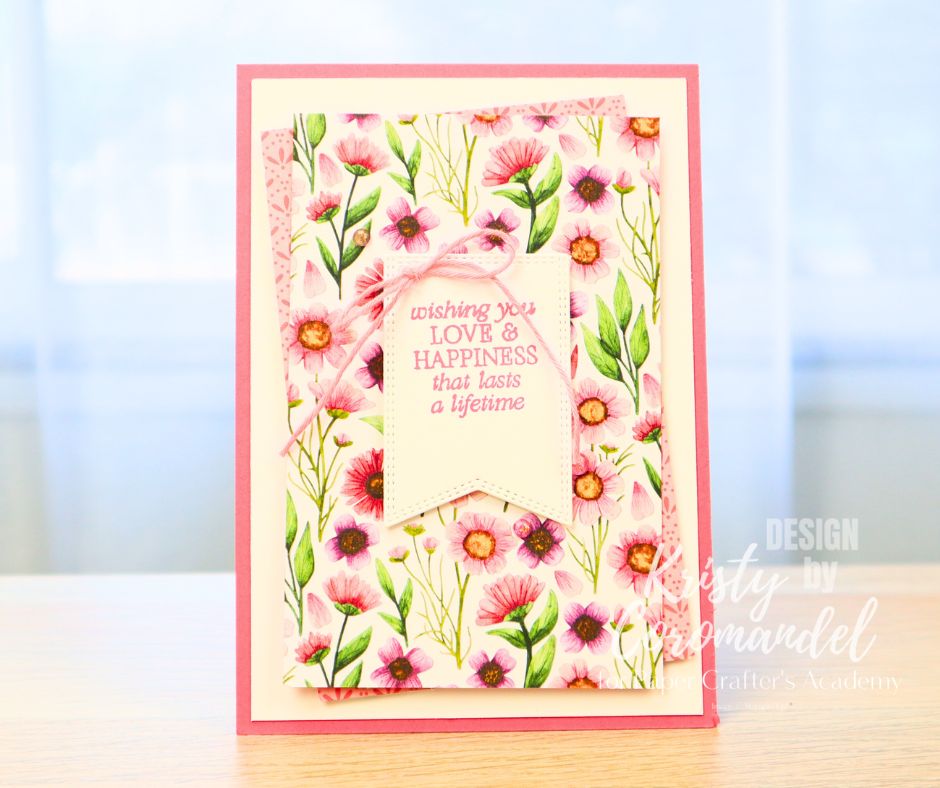
Simple layering example: a soft card base, floral patterned paper, and a stitched sentiment panel with twine for extra texture
How to Start Layering on Cards: Easy Tips for Beginners
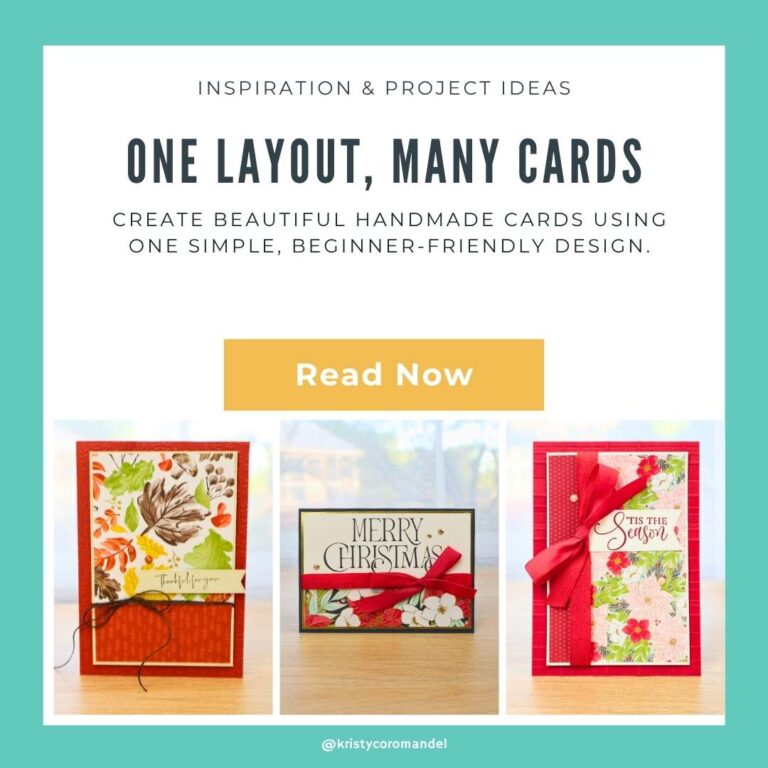
1. Start with a Simple Card Sketch
One of the easiest ways to begin layering is to use a simple layout. Try this:
- A base layer
- A background panel
- A focal element like a greeting or stamped image
You’ll be amazed how much more complete your card feels with just this structure.
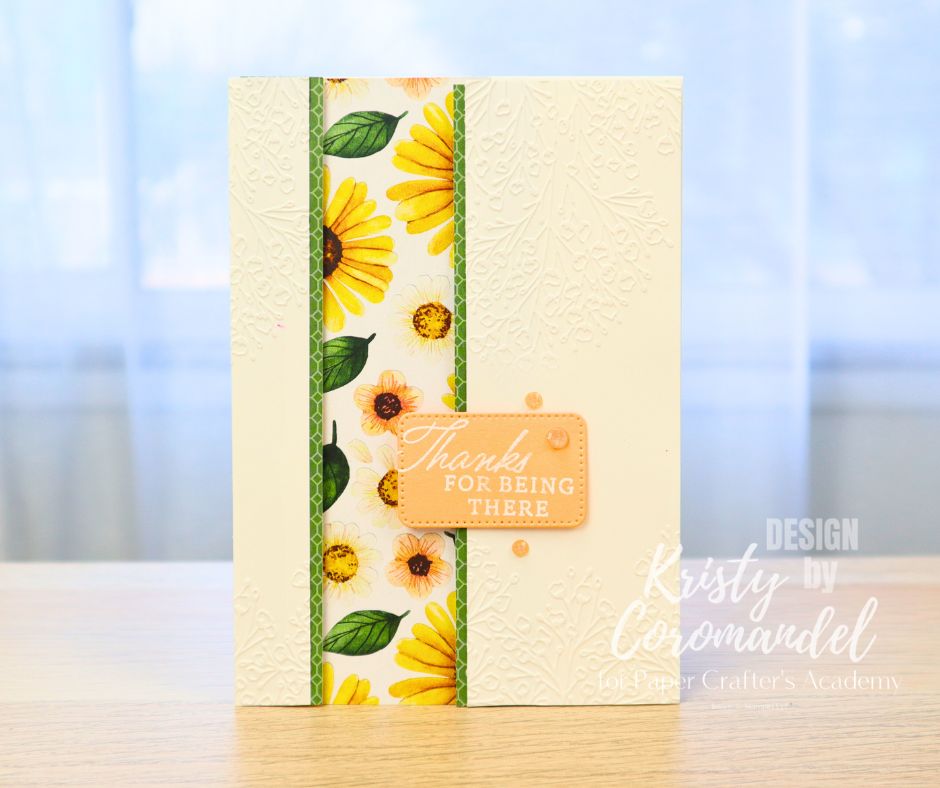
A vertical strip of patterned paper framed by coordinating cardstock strips is an easy way to add interest. The embossed background adds texture without overwhelming the design.
2. Use Colour and Texture for Contrast
Another great trick is to create contrast using colour or texture. You might layer a bright panel behind a soft focal point, or add die-cut embellishments to help your sentiment stand out.
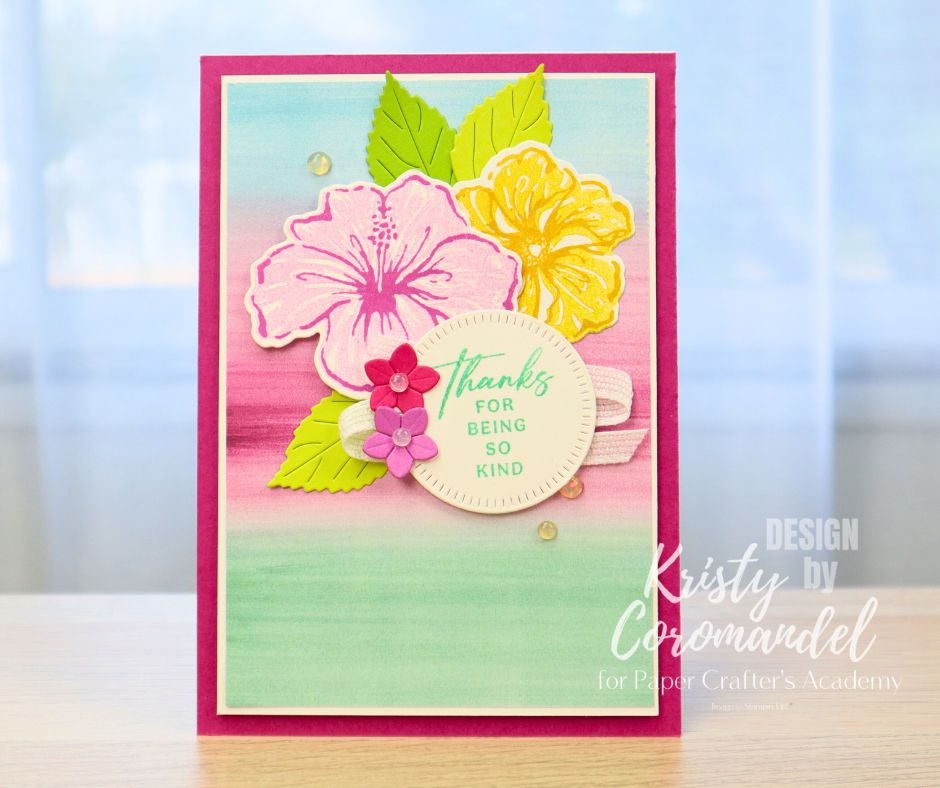
This vibrant card uses bold colours, multiple die-cut flower layers, and a simple stitched circle sentiment to create a layered look with depth and dimension.
Don’t Overthink It—Just Start
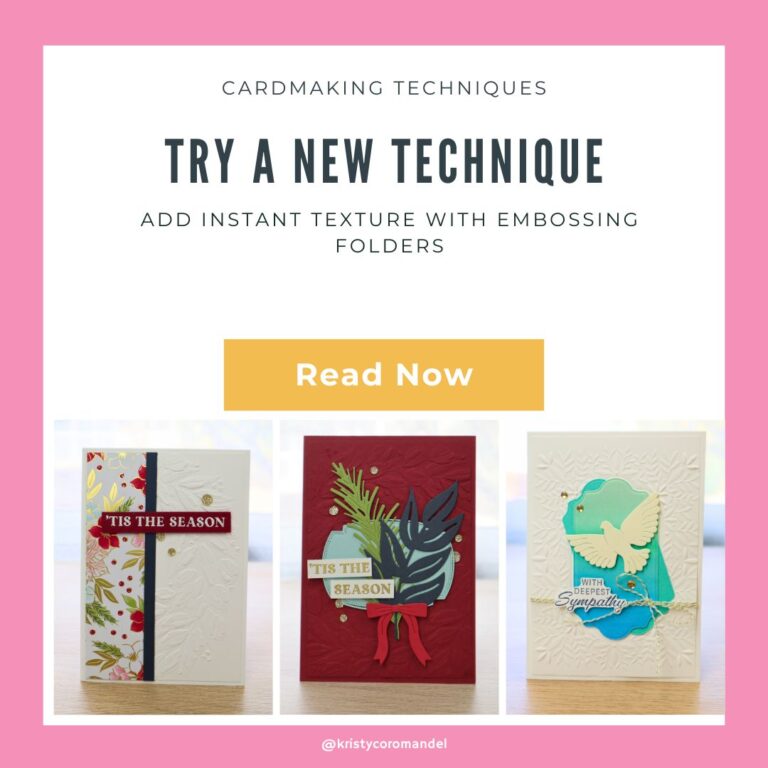
The beauty of card layering is that there are no strict rules. Start with two or three layers and build from there. Use scraps, patterned paper, or embossing folders—whatever you have on hand. Most importantly, have fun and trust your creative instincts.
Coming Up Next…
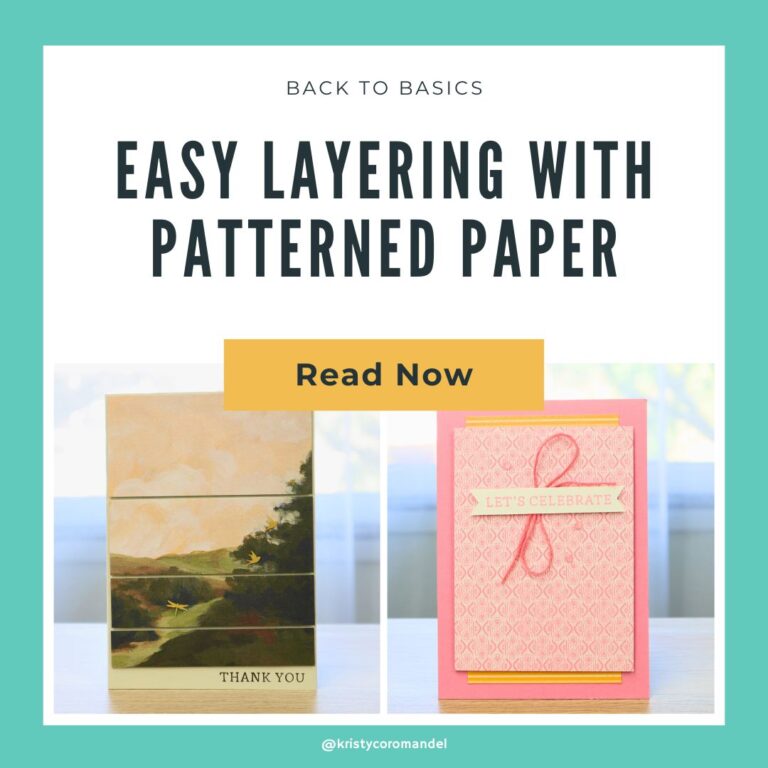
Next week, we’ll build on this week’s foundation with Easy Layering Using Patterned Paper. I’ll show you how to mix and match prints and add paper strips or panels that bring your cards to life—no extra bulk or fuss required.
Until then, try one of this week’s tips and share what you create—I’d love to see how you’re getting started with simple layers!