Heat Embossing for Beginners: Add Shine and Confidence to Your Cards
If you’ve ever seen a handmade card with a glossy, raised design that seems to shine in the light, you’ve probably admired the magic of heat embossing. It looks advanced — but it’s actually one of the easiest techniques you can learn as a beginner cardmaker.
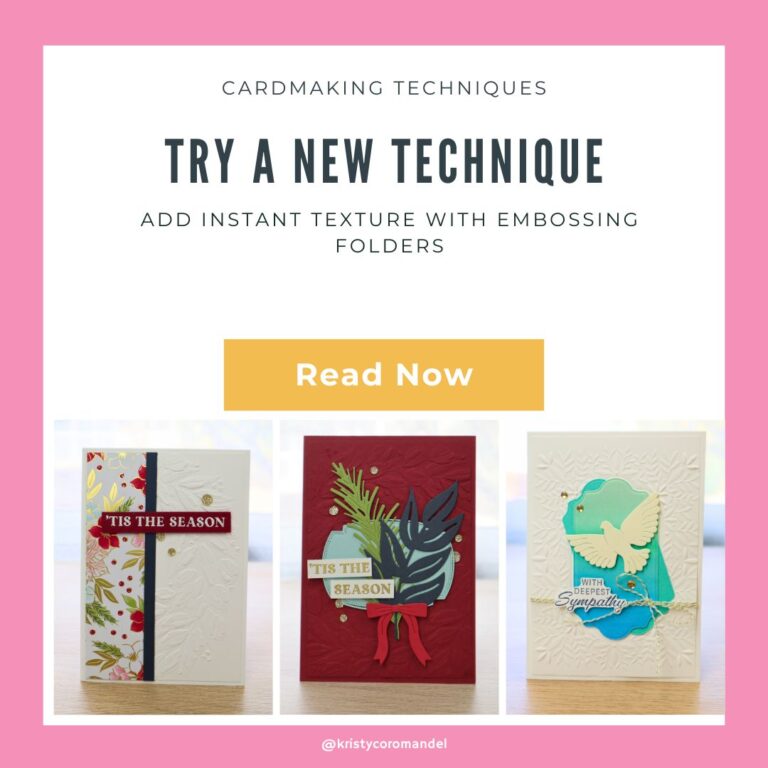
This week, we’re building creative confidence by helping you try a new technique — heat embossing for beginners — using just a few basic tools and a sense of curiosity.
Want to listen instead of read? YOU GOT IT!
Whether you’re just getting started or ready to explore your next creative skill, this tutorial will walk you through everything you need to know to begin heat embossing with success.
What Is Heat Embossing?
Heat embossing is a simple stamping technique that transforms ordinary ink into a shiny, textured design using embossing powder and a heat tool.
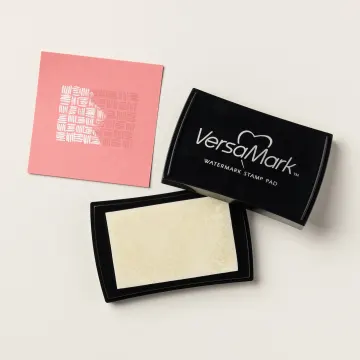
You start by stamping an image with VersaMark ink (a clear, sticky ink), sprinkling embossing powder over it, and then gently heating it until the powder melts. In seconds, your stamped image turns into a beautiful raised finish — like magic!
What You’ll Need to Get Started
You only need a few basic supplies to try heat embossing for the first time:
- VersaMark Ink Pad – this clear, sticky ink holds embossing powder in place.
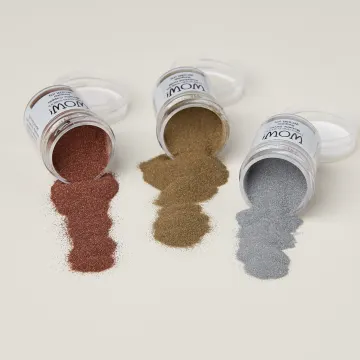
- Embossing Powder – available in metallics, white, clear, and colours.
- Heat Tool – a must-have to melt the powder and set your design.
- Anti-Static Powder Tool – prevents stray powder from sticking where it shouldn’t.
- Basic Stamps & Cardstock – start with simple sentiment or outline images.


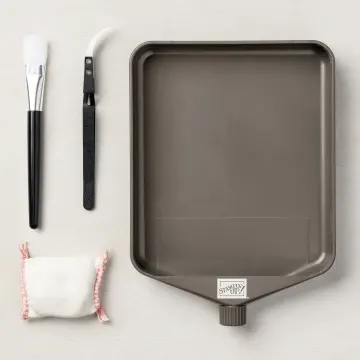
Optional: Tweezers, grid paper, and a paintbrush for brushing away excess powder.
👉 Pro Tip: For best results, preheat your heat tool for a few seconds before bringing it to your cardstock — it helps the powder melt faster and prevents warping.
Step-by-Step: How to Heat Emboss
If this is your first time embossing, follow these beginner-friendly steps:
- Prepare your surface. Use your anti-static powder tool over the cardstock.
- Stamp your image. Ink your stamp with VersaMark and press firmly onto the cardstock.
- Add embossing powder. Sprinkle generously, then tap off the excess.
- Remove stray powder. Use a small paintbrush for clean edges.
- Heat it up! Hold the heat tool 2–3 cm away and watch the powder melt into a shiny finish.
That’s it! Once cool, you’ll have a raised, glossy image that instantly elevates your handmade card.

Beginner Troubleshooting Tips
If your first attempts aren’t perfect, don’t stress — every crafter starts here!
- Powder flying everywhere? You may be blowing too close. Move the tool slightly away.
- Warping paper? Heat the back of your cardstock after the front to flatten it.
- Specks of powder around your design? Use an anti-static tool before stamping.
- Patchy coverage? Make sure your VersaMark ink pad is juicy — re-ink if needed.
Remember: even the pros had their first “oops” embossing moments!
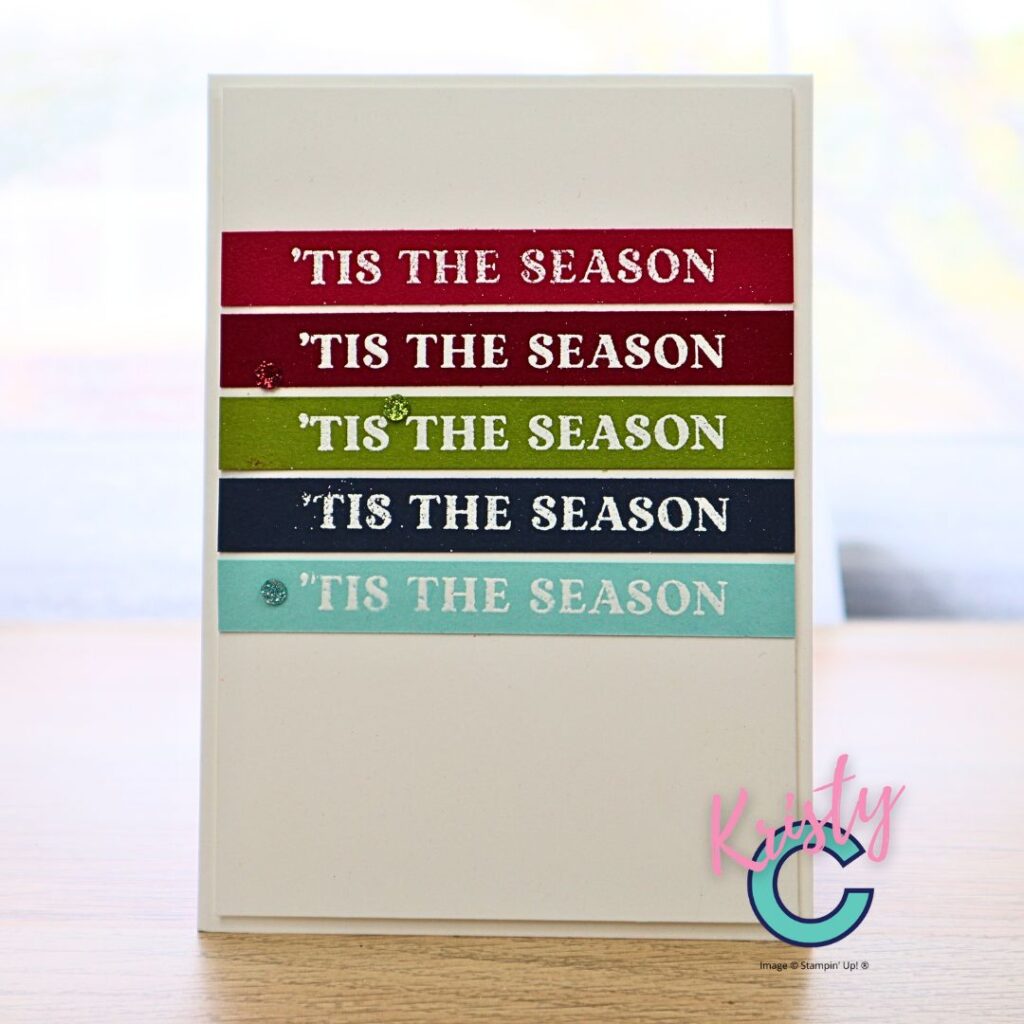
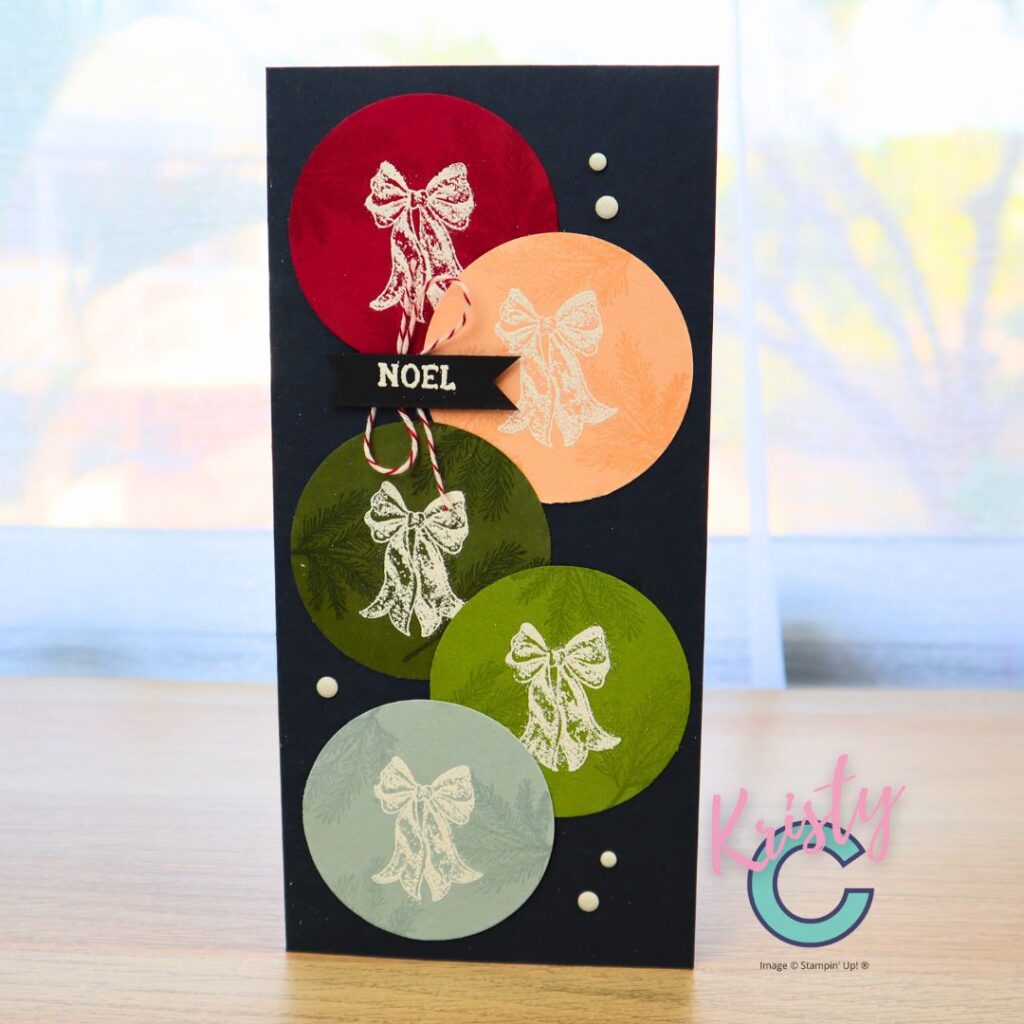
Easy Project Idea: Embossed Sentiment Card
For your first project, try heat embossing a sentiment (like “Thank You” or “Happy Birthday”) in gold or white on a coloured cardstock panel. Add a simple stamped background or layer it with patterned paper — and you’ll have a polished, professional-looking card with minimal effort.
You can watch me create this project in this week’s YouTube video tutorial — or join my Facebook Live replay to see heat embossing in action.
Why Heat Embossing Builds Creative Confidence
At Stage 1 of your crafting journey, every new tool feels intimidating — but once you try it, you’ll see how empowering it can be.
At Stage 2, you’re ready to explore techniques that help you express your style. Heat embossing lets you:
- Add elegant texture without complicated equipment
- Turn simple stamps into stunning designs
- Experiment with colour and shine in endless ways
Each new embossing project helps you feel more confident in your creative abilities — and that’s exactly what your crafting journey is all about.
Your Turn: Let’s Build Your Creative Confidence
If you’ve been waiting for the “right time” to try a new technique — this is it!
Start small, play with powder and heat, and let your creativity shine (literally!). You’ll be amazed at what you can create when you give yourself permission to just try.