Ink Blending Basics for Beginners: Easy Card Backgrounds You’ll Love
If you’ve ever looked at a handmade card with that soft, cloud-like background and thought “I could never do that,” this post is for you.
Ink blending looks advanced, but once you know the basics, it’s one of the easiest and most relaxing techniques in paper crafting.
In this guide, we’ll walk through the tools, techniques, and creative tips you need to start blending confidently—plus a simple card project to try today.
Want to listen instead of read? YOU GOT IT!
What Is Ink Blending and Why Beginners Love It
Ink blending is the process of applying ink to cardstock in smooth, circular motions to create a soft fade or colour transition.
It’s perfect for beginners because:
- You can start with just two ink pads and one blending tool.
- Every background turns out unique—there’s no “wrong” result.
- It’s forgiving; even imperfect blends look artistic.
- It adds instant polish and dimension to stamped cards.
Ink blending is often used for:
- Ombre backgrounds (dark-to-light fades)
- Soft halos behind stamped images or sentiments
- Layered colour mixes that mimic watercolour looks
- Smooth transitions between multiple hues
Once you try it, you’ll see why so many crafters call ink blending their happy place.
The Essential Tools for Smooth Ink Blends
Starting simple is the secret to success. These are the four essentials every beginner should have:
1. Ink Pads
Dye inks—like Stampin’ Up! Classic Stampin’ Pads—are perfect because they dry quickly and layer beautifully.
Choose light-to-medium tones; darker colours can be tricky at first.
✨ Beginner Tip: Start with a trio such as Petal Pink, Pool Party, and Soft Sea Foam. They blend effortlessly and look amazing together.
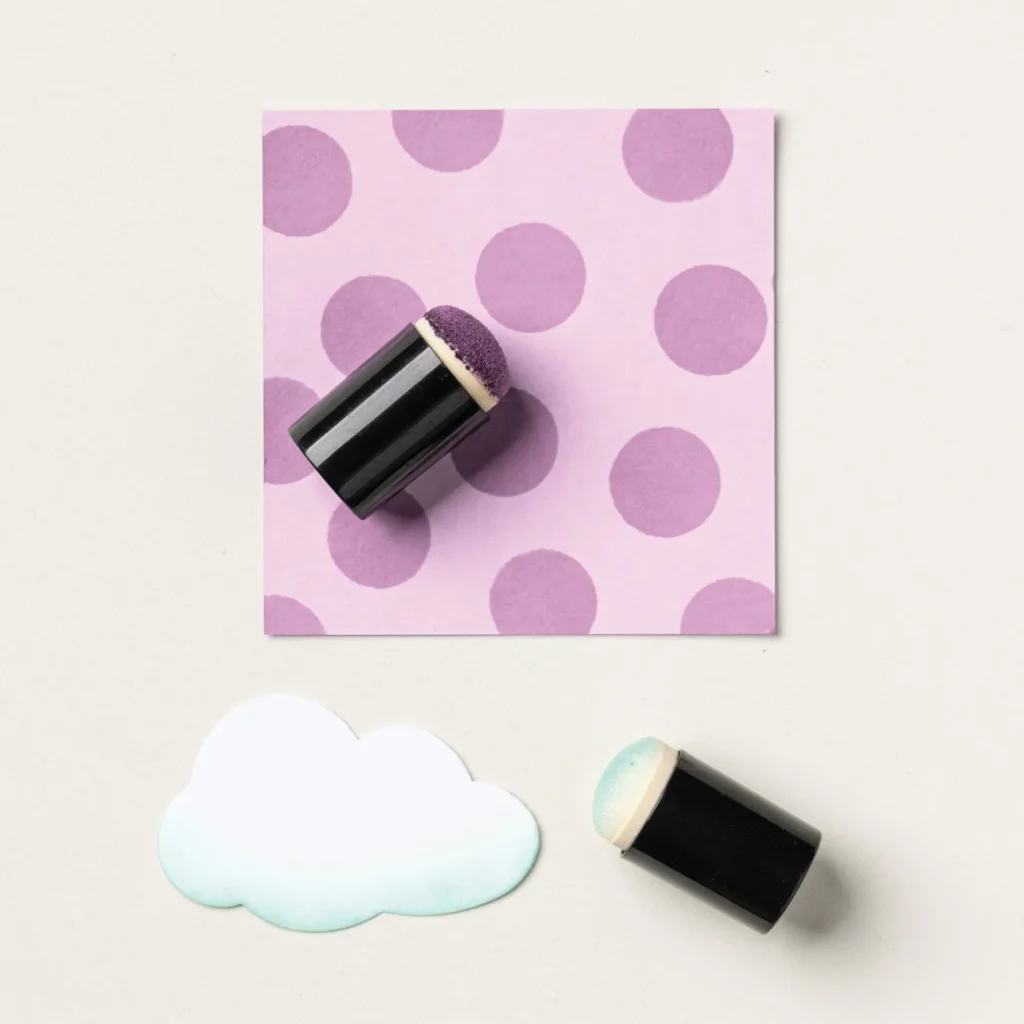
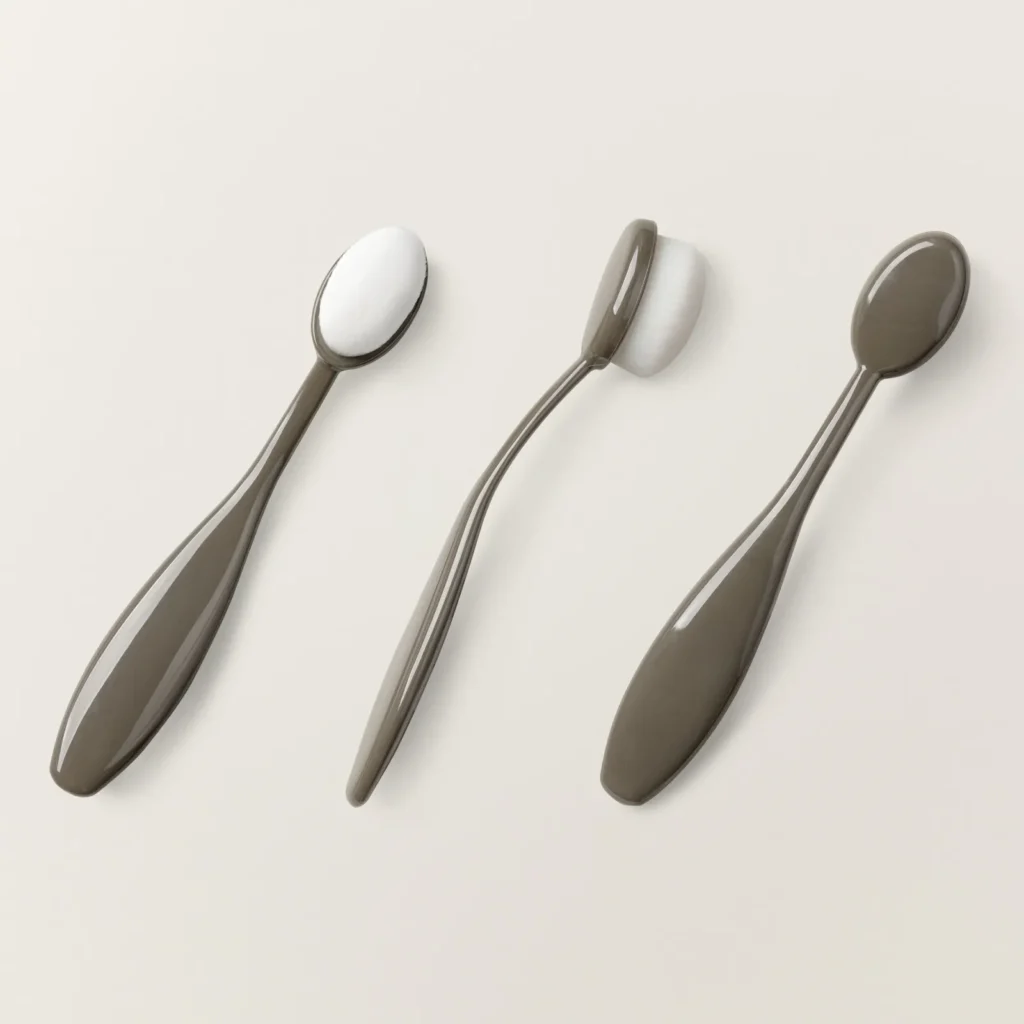
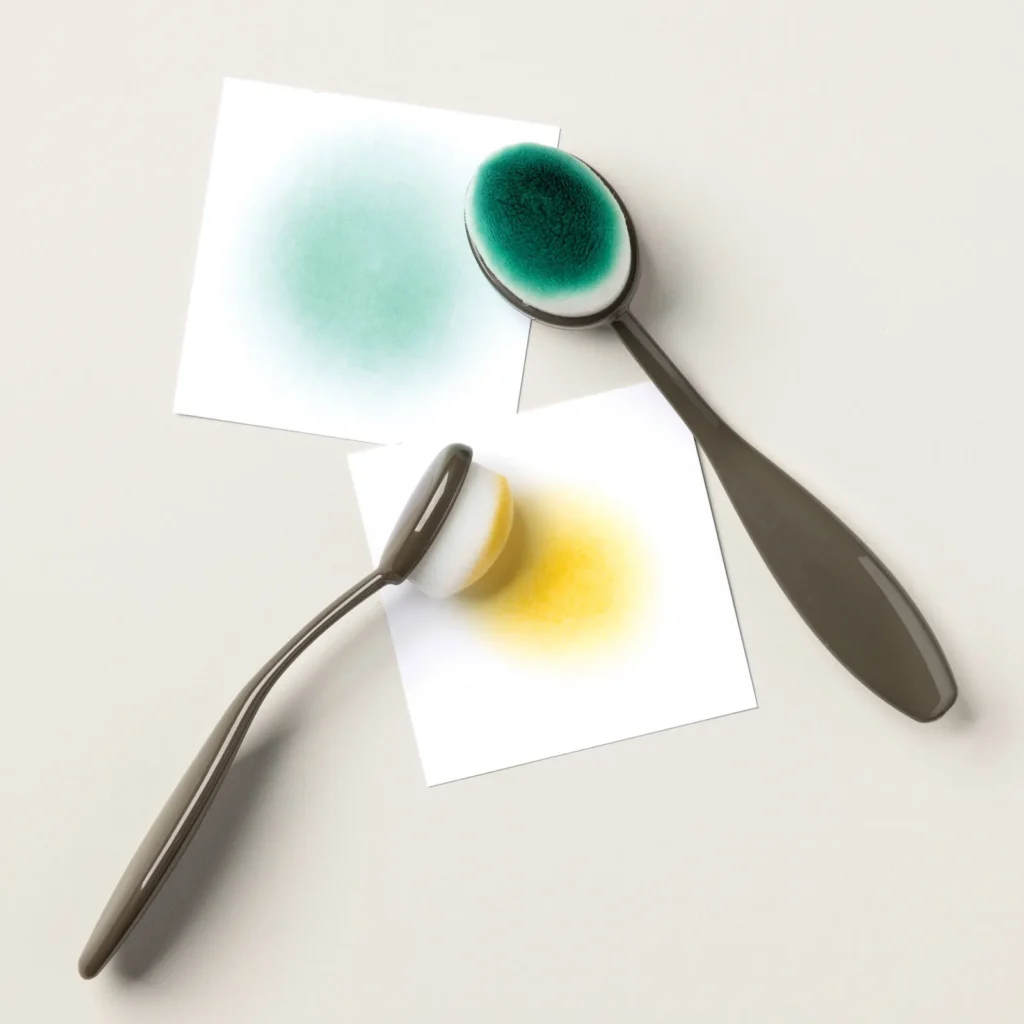
2. Blending Tools
You can use:
- Blending brushes for large, smooth coverage.
- Sponge daubers for small, controlled areas.
- Make-up sponges as a budget-friendly option.
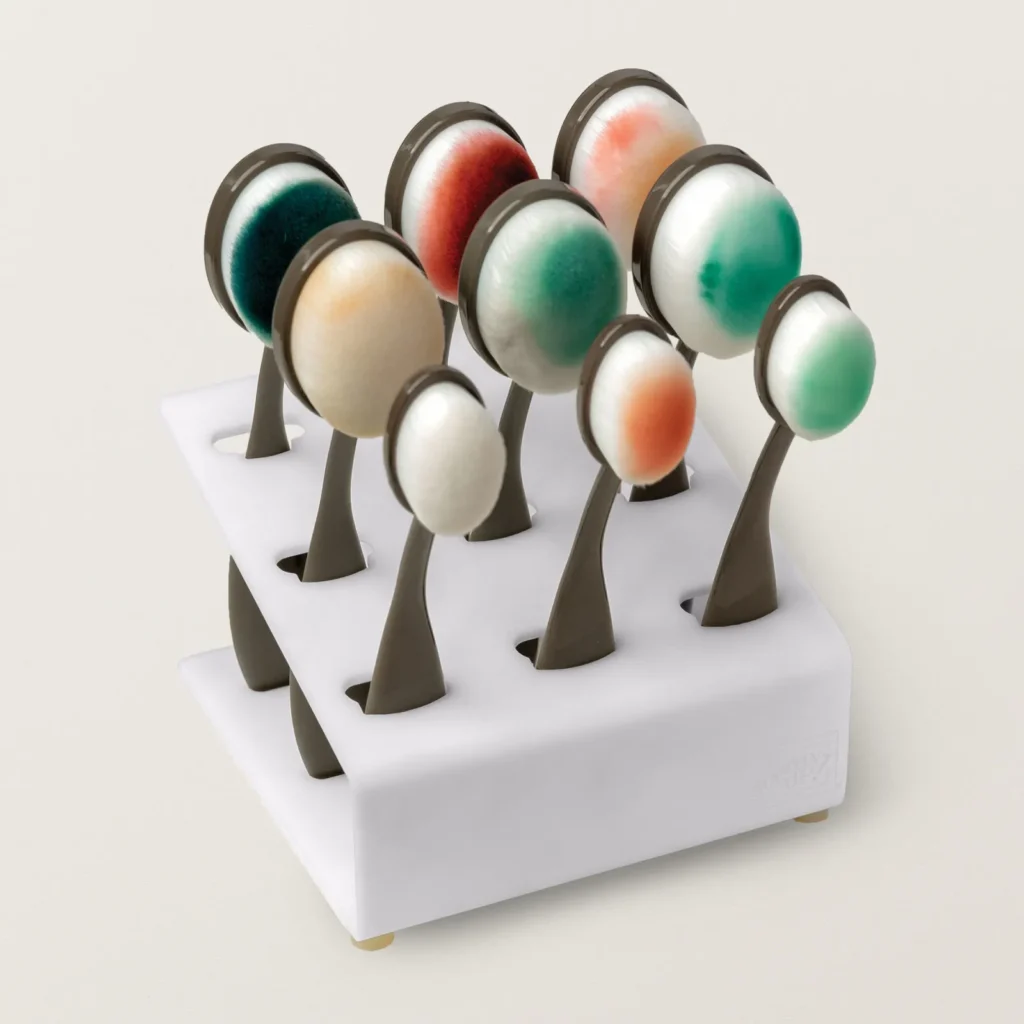
Keep separate tools (or removable labels) for each colour family to avoid muddy mixes.
3. Cardstock
Smooth, heavy cardstock (around 110 lb / 300 gsm) gives the best results.
Whisper White or Basic White are perfect for ink blending because the surface allows inks to glide rather than grab.
4. Protective Surface
Use a grid paper or silicone mat underneath your work.
Starting your circular motion off the edge of the cardstock prevents harsh circles.
Caring for Your Blending Tools
Good care keeps your tools performing like new.
- Clean gently. Rinse brushes under lukewarm water or wipe with a micro fibre cloth..
- Dry flat. Let them air-dry completely before using again.
- Store upright. Keep brushes in a jar to protect the bristles.
If you’re using sponge daubers, store them in small plastic cases labelled by colour family. It saves time and keeps your blends clean.
How to Create a Smooth Ink Blend Step by Step
Let’s make your first gradient background together!
- Choose two colours that play nicely—such as Pool Party and Petal Pink.
- Secure your cardstock to the mat with low-tack tape.
- Load your brush lightly with ink; tap off the excess on scratch paper.
- Start off the edge and use gentle circular motions onto the cardstock.
- Add layers slowly. Build colour instead of pressing hard.
- Overlap the colours where they meet for a seamless fade.
- Optional: Spritz with water for a soft, speckled effect.
Let it dry for a minute, then admire your smooth, custom background!
Common Ink Blending Problems and How to Fix Them
Problem 1: Harsh circles or streaks.
→ Start your brush off the paper, keep light pressure, and work in small circles.
Problem 2: Patchy colour.
→ Keep layering—most blends need at least two passes of ink for even coverage.
Problem 3: Muddy colours.
→ Avoid blending complementary colours directly (e.g., red + green). Use neutrals or a light transition shade between them.
Problem 4: Fingerprints.
→ Hold cardstock edges with scrap paper or wear disposable gloves while blending.
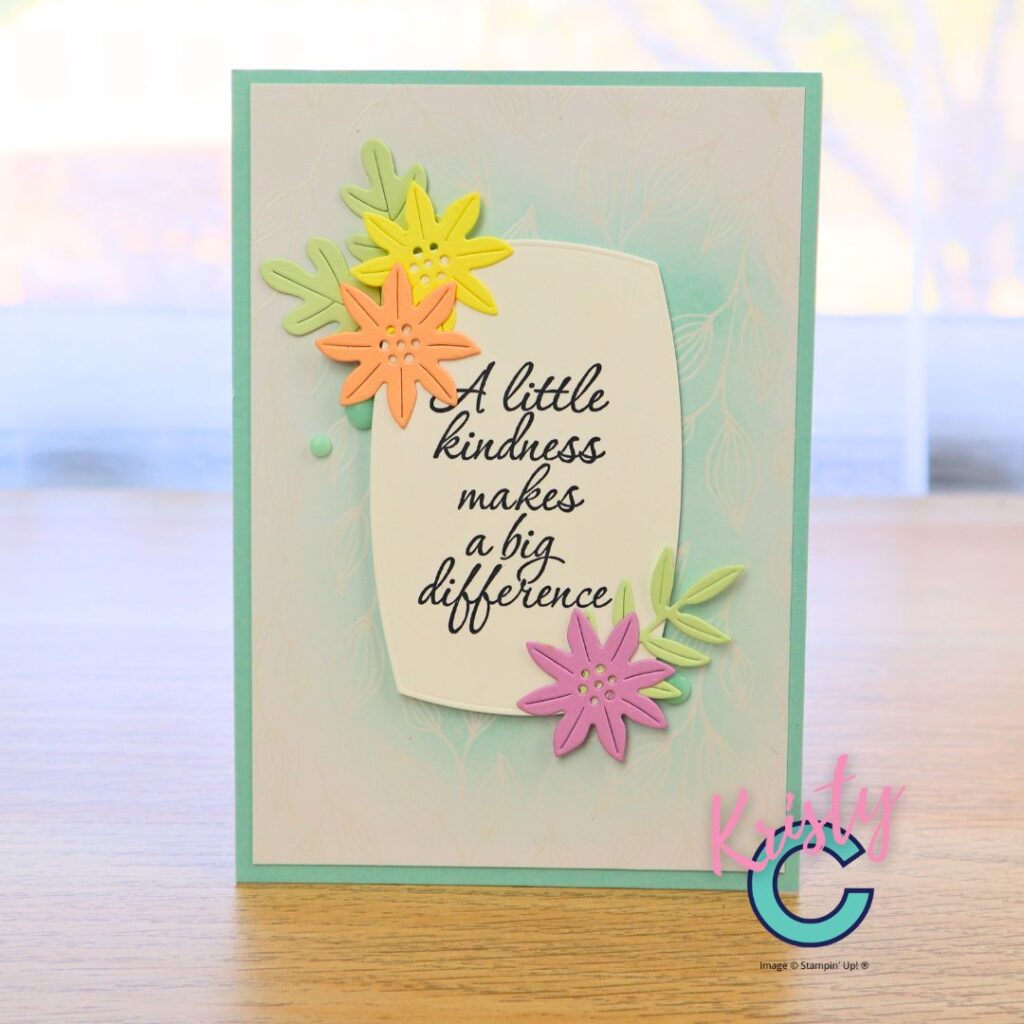
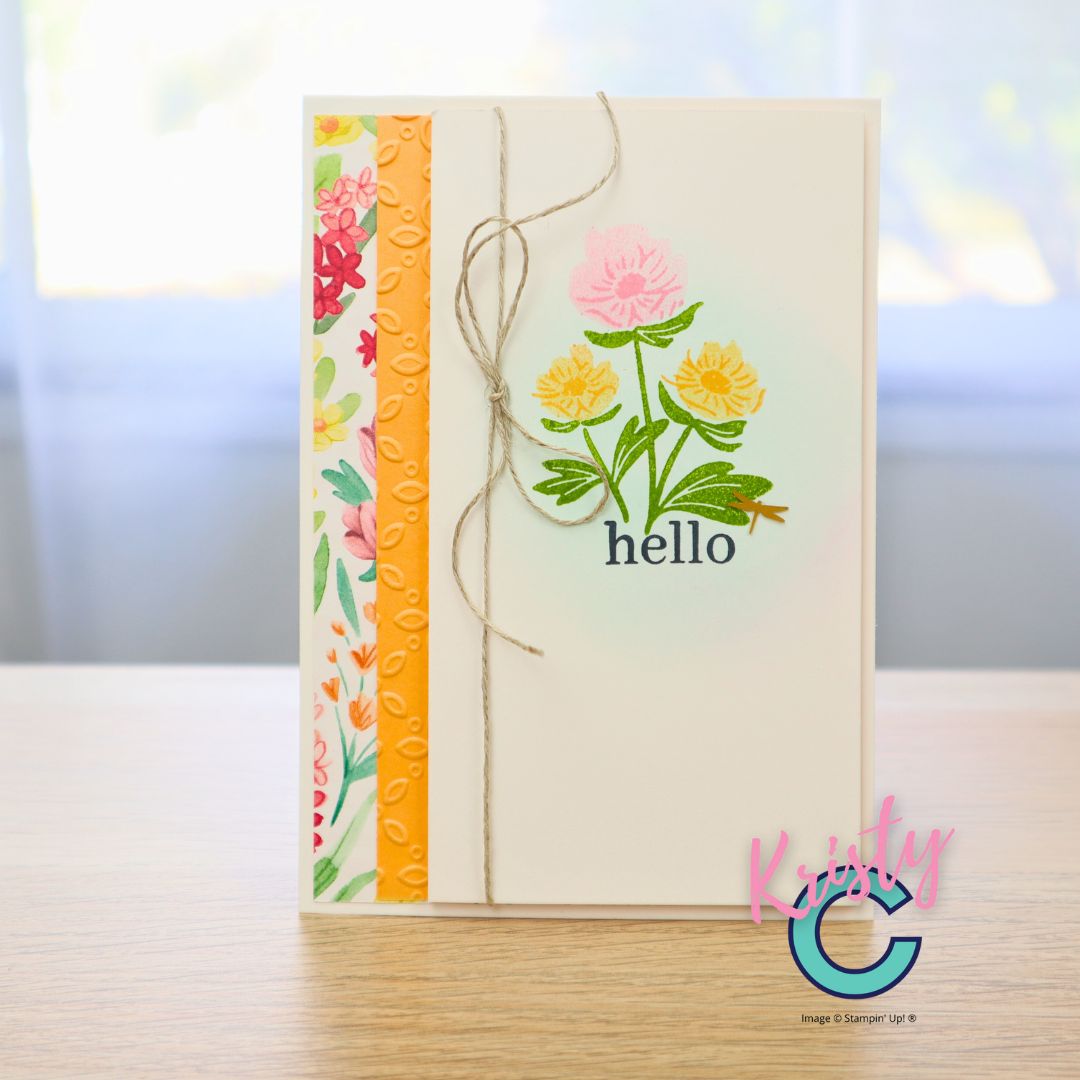
Beginner Project: Subtle Ink Blending with Pastel Die-Cut Flowers
This week’s video project is all about creating a soft, gentle background using ink blending — perfect for beginners learning how to add colour without overpowering their design.
You’ll Need
- White or light-coloured cardstock
- One light ink colour (such as Pool Party or Soft Sea Foam)
- Blending brush or sponge dauber
- Die-cut flowers and leaves in coordinating pastel shades
- Sentiment stamp and black ink
- Adhesive dimennsionals and embellishments (optional)
Steps
- Blend the background. Lightly apply your chosen ink in circular motions starting from the edges toward the centre. Keep the colour soft and subtle — just enough to create a hint of depth behind your sentiment area.
- Add texture (optional). For extra interest, you can lightly emboss the background panel or stamp a faint pattern before blending or use Irresistable Designs Speciality Paper.
- Stamp your sentiment. Centre your sentiment on a large label or die-cut shape using crisp black ink.
- Layer your die cuts. Arrange pastel-coloured flowers and leaves around the sentiment. Use dimensional adhesive for a little lift and dimension.
- Assemble the card. Mount your blended panel onto a coordinating coloured base, and add embellishments such as enamel dots or sequins.
💡 Beginner Tip: Keep your blending light and even. It’s easier to build colour gradually than to fix harsh spots later.
🖼️ Shown above: This finished design from the video tutorial uses a Pool Party ink blend with layered pastel flowers — a simple, confidence-building project for anyone new to ink blending.
More Ink Blending Project Ideas to Try
Once you’ve mastered the basics, try one of these beginner-friendly variations!
Each card below uses the same ink blending technique in a slightly different way — proving that one simple skill can create endless designs.
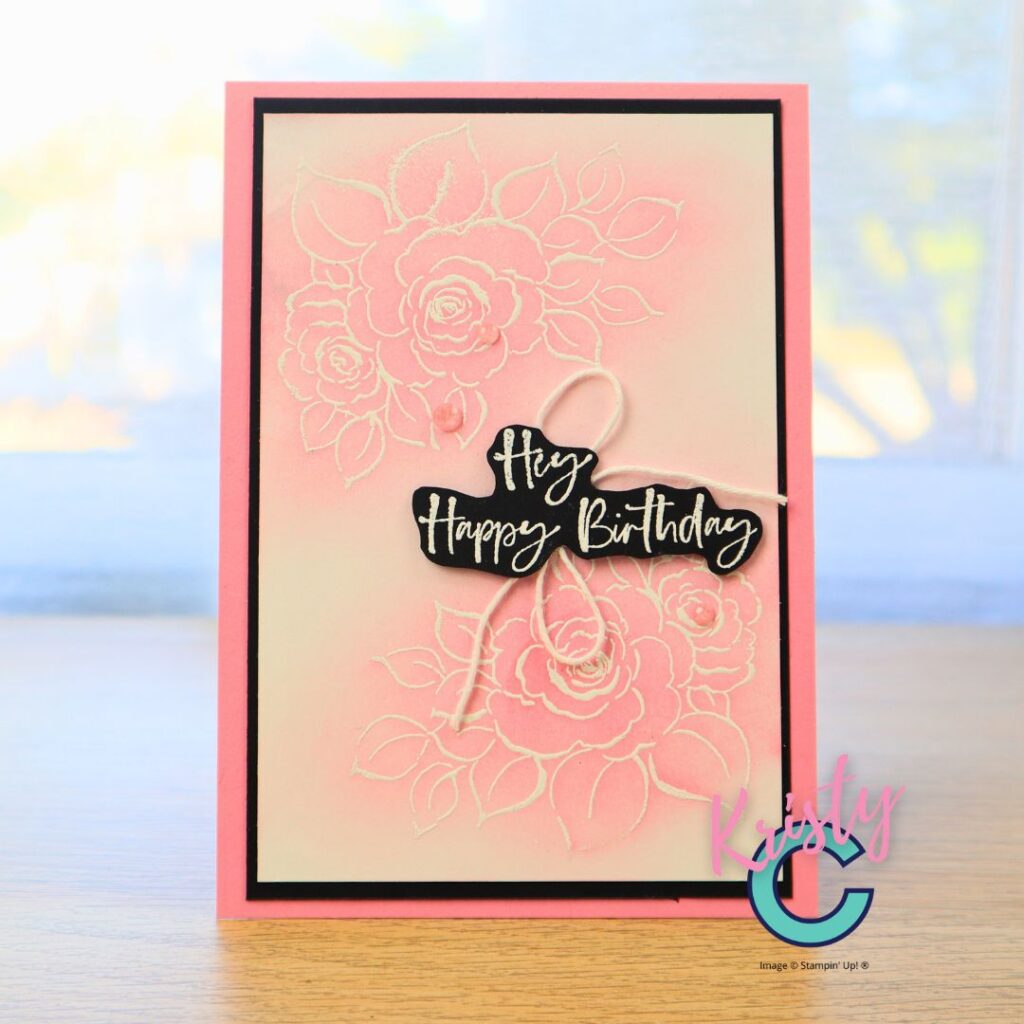
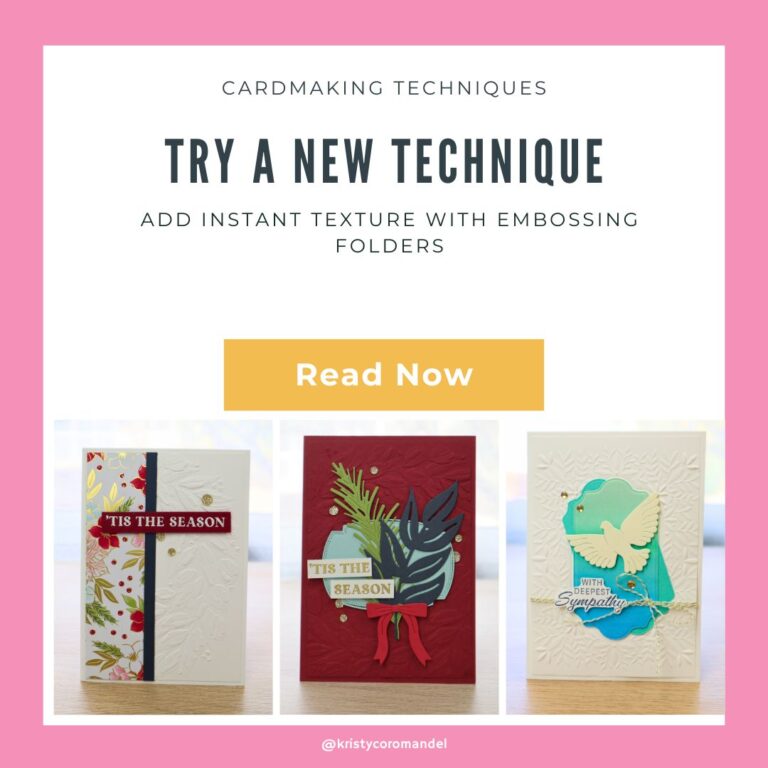
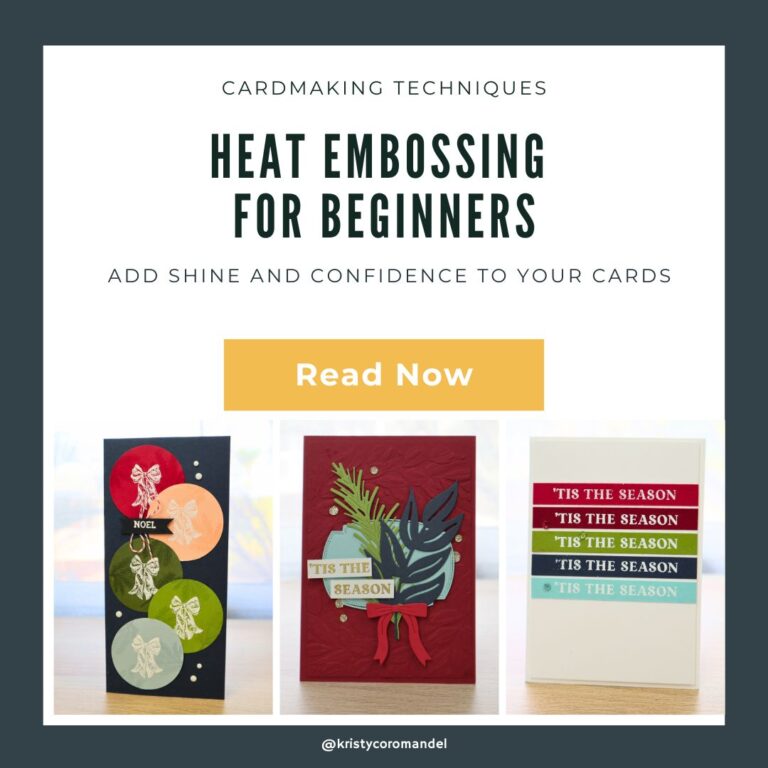
Combine heat embossing with blending for a soft resist effect. The white embossed flowers peek through the colour for an elegant birthday card.
Add soft colour behind stamped flowers to make your focal image glow. Perfect for trying different colour combinations.
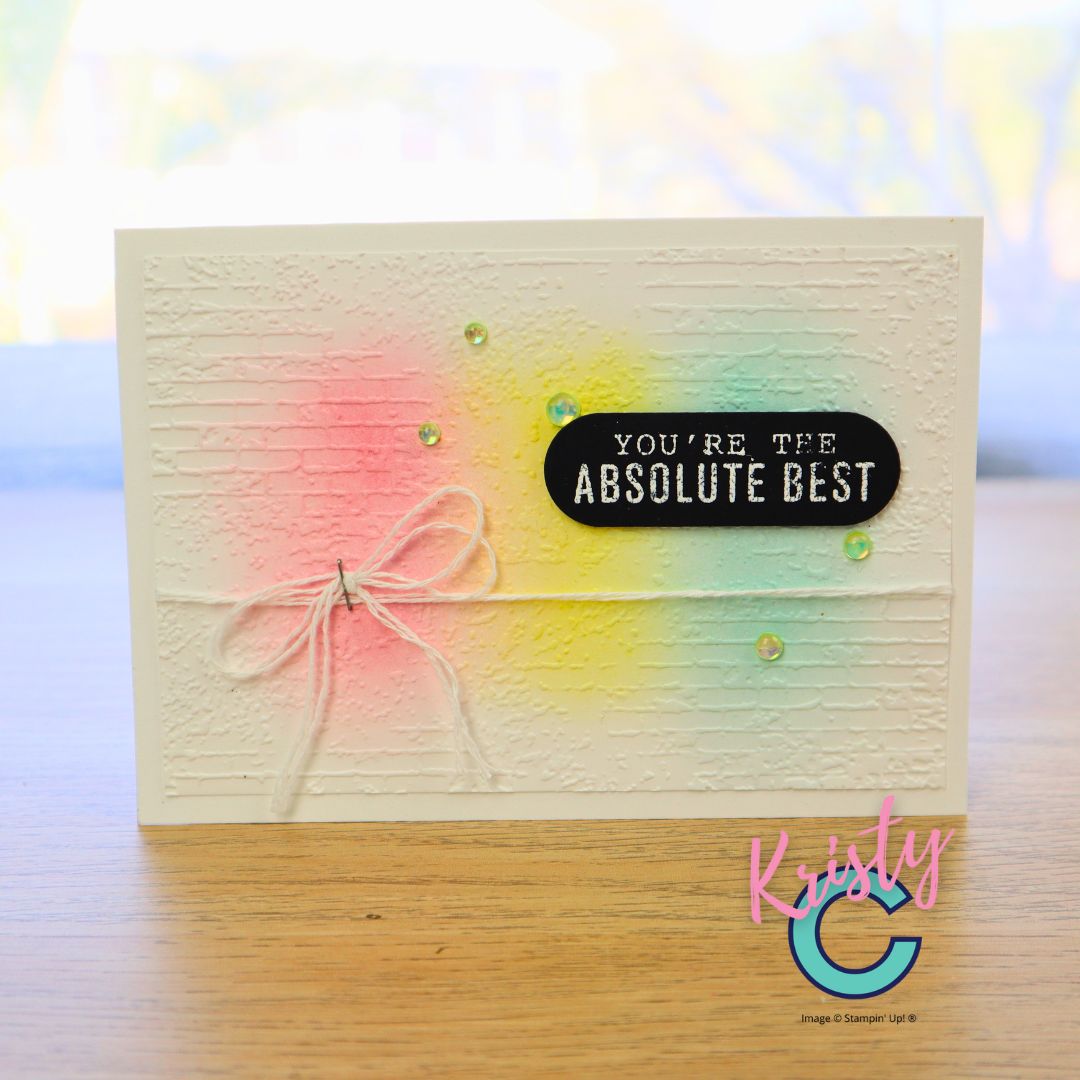
Try ink blending over embossed texture for a subtle, modern look. A light sweep of colour highlights the raised pattern beautifully.
Want to Experiment More? Try These Ideas
- Masking Shapes: Blend around a die-cut circle or heart for a spotlight effect.
- Heat Emboss Resist: Stamp and emboss images in white, then blend ink over the top to reveal the design.
- Stencilled Blends: Place a stencil over your cardstock and apply multiple colours for instant patterned backgrounds.
- Textured Blends: Emboss first, then brush lightly over raised areas to highlight the texture.
Each variation teaches you more about pressure, colour, and ink flow—and builds your creative confidence step by step.
Ink Blending Colour Combos to Try
| Mood | Combo | Notes |
|---|---|---|
| Soft & Dreamy | Petal Pink + Pool Party | Great starter combo; forgiving and pretty. |
| Bright & Happy | Daffodil Delight + Granny Apple Green | Adds energy to floral cards. |
| Cool & Calm | Balmy Blue + Fresh Freesia | Subtle blends for sympathy or thank-you cards. |
| Bold & Modern | Poppy Parade + Crushed Curry | For graphic layouts or masculine cards. |
Keep a small Ink Swatch Ring to record your favourite pairings—it’s an invaluable reference for future projects.
Troubleshooting Quick Guide
| Issue | Fix | Tip |
|---|---|---|
| Streaky blend | Use more circular motion, less pressure | Re-ink pads if they’re too dry |
| Uneven colour | Add second light coat | Blend with lighter shade over dark transition |
| Muddy edges | Clean tool between colours | Use one tool per colour family |
| Paper warping | Too much moisture | Use thicker cardstock or heat-set gently |
Pin or print this section for easy reference at your craft desk.
Watch the Video Tutorial
Prefer to see it in action?
🎥 Watch my full YouTube tutorial: Ink Blending Basics for Beginners | Tools, Tips & Easy Card Project
I’ll walk you through every step—from tool care to layering inks—and create a complete card together on camera.
👉 Watch on YouTube and don’t forget to subscribe for more tutorials every week.
Build Your Creative Confidence
Ink blending teaches more than technique—it teaches patience, experimentation, and joy.
The more you practise, the smoother your blends will become and the prouder you’ll feel of every handmade card you create.
So pull out two ink pads, grab a brush, and spend a few minutes blending today.
You’ll be amazed how quickly this simple technique turns into your new favourite creative habit.
💬 Tell me in the comments: Which two colours will you try blending first?