3 Simple Thank You Card Ideas with the Thanking You Stamp Set
Sometimes the simplest stamp in your collection can give you far more creative possibilities than you expect.
The Thanking You Stamp Set from Stampin’ Up! is a perfect example.
At first glance, it’s beautifully simple — one large, handwritten-style “thank you” greeting. But that simplicity is exactly what makes it so much fun to create with.
Because the sentiment is large enough to become the focal point of your card, you don’t need lots of other stamps, complicated layouts or fancy techniques to create something that feels finished.
This week I’ve created three different thank you cards using the same stamp, starting with a very simple design and gradually adding colour, texture and technique.
If you’re building your card-making confidence, these projects are a lovely reminder that you don’t need to do more to make a beautiful card. Sometimes you simply need to explore what you can do with what you already have.
Meet the Thanking You Stamp Set
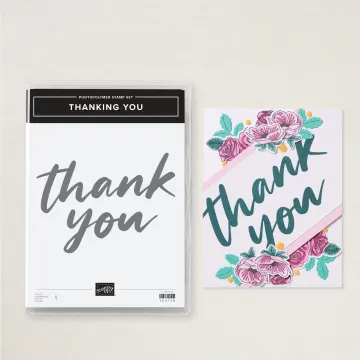
The Thanking You Stamp Set includes:
- One oversized “thank you” sentiment in a relaxed handwritten style
- A greeting large enough to become the main focal point of your card
- A versatile design that can work with clean and simple cards, patterned papers, colourful backgrounds and more detailed techniques
What I particularly like about this stamp is that it takes away one of the decisions that can sometimes make card making feel harder than it needs to be: What am I going to put on the front?
The greeting does that job for you.
Instead of trying to coordinate several stamped images, sentiments and embellishments, you can start with the large “thank you” and then decide how much — or how little — you want to add around it.
And as these three cards show, that can lead to some very different designs.
👉 Shop the Thanking Your Stamp Set here
Card 1: Keep It Clean and Simple
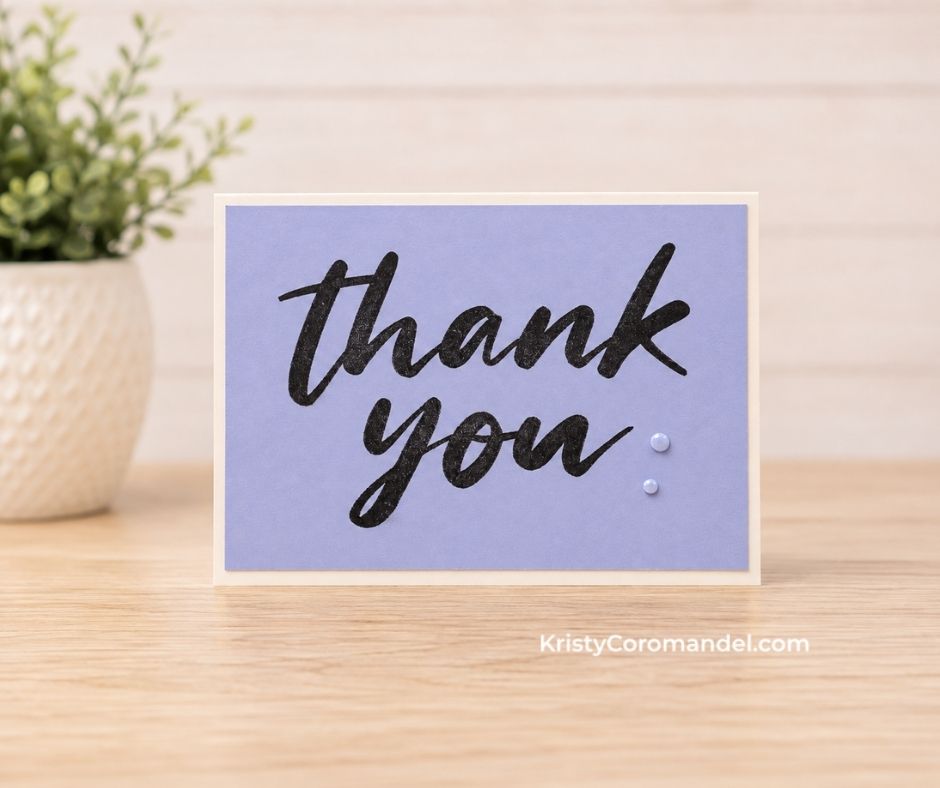
Let’s start with the simplest card of the three.
A soft Hydrangea Hue cardstock panel creates the background, while the large Thank You greeting stamped in black becomes the obvious focal point.
A couple of small embellishments finish the card.
That’s it.
And that’s also what makes this design work.
When you’re working with a large sentiment, you don’t necessarily need to fill all the remaining space. Giving your greeting plenty of breathing room can make the finished card feel clean, intentional and beautifully balanced.
This is also a great design to keep in your back pocket when you need a card quickly. Change the cardstock colour and you could create several versions in one crafting session.
Beginner Tip
When you’re stamping a large solid image or sentiment, make sure the entire stamp is evenly inked before stamping. Place your cardstock on a firm, flat surface and apply even pressure across the whole stamp rather than rocking it backwards and forwards.
Once you’re comfortable with this simple version, you can start adding a few more details.
Card 2: Add Pattern and Texture
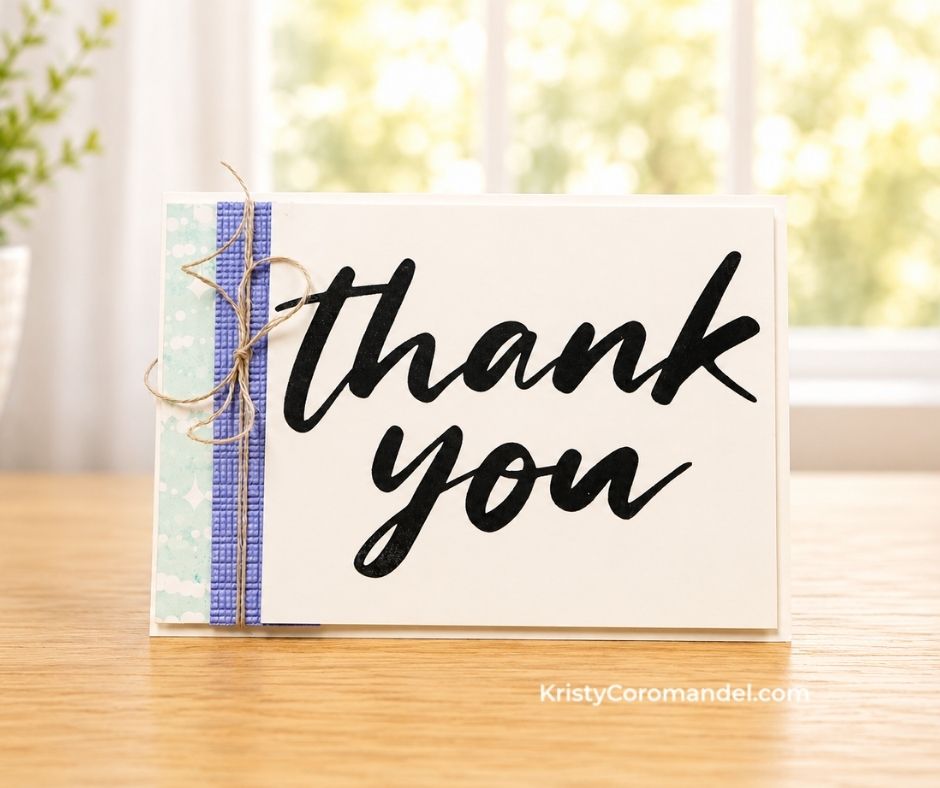
For the second card, I’ve kept the same bold black greeting but added interest along one side of the card.
A narrow strip of patterned paper introduces a little colour and pattern, while the embossed Hydrangea Hue cardstock and twine add another layer of detail.
The important thing here is that those extra elements aren’t competing with the sentiment.
They’re supporting it.
This is one of my favourite ways to build on a clean and simple card design. Instead of adding embellishments everywhere, choose one area of the card and concentrate your details there.
It keeps the design interesting without making it feel busy.
It’s also a brilliant way to use some of those narrow strips of patterned paper we card makers somehow can’t bring ourselves to throw away!
Beginner Tip
If mixing patterns and textures feels intimidating, start small. Choose one patterned paper and pull one of its colours into another element of your card. Repeating colours helps all the different pieces feel like they belong together.
Already you can see how different the same stamp can look — and we haven’t changed the greeting at all.
Card 3: Create a Soft Ink-Blended Background
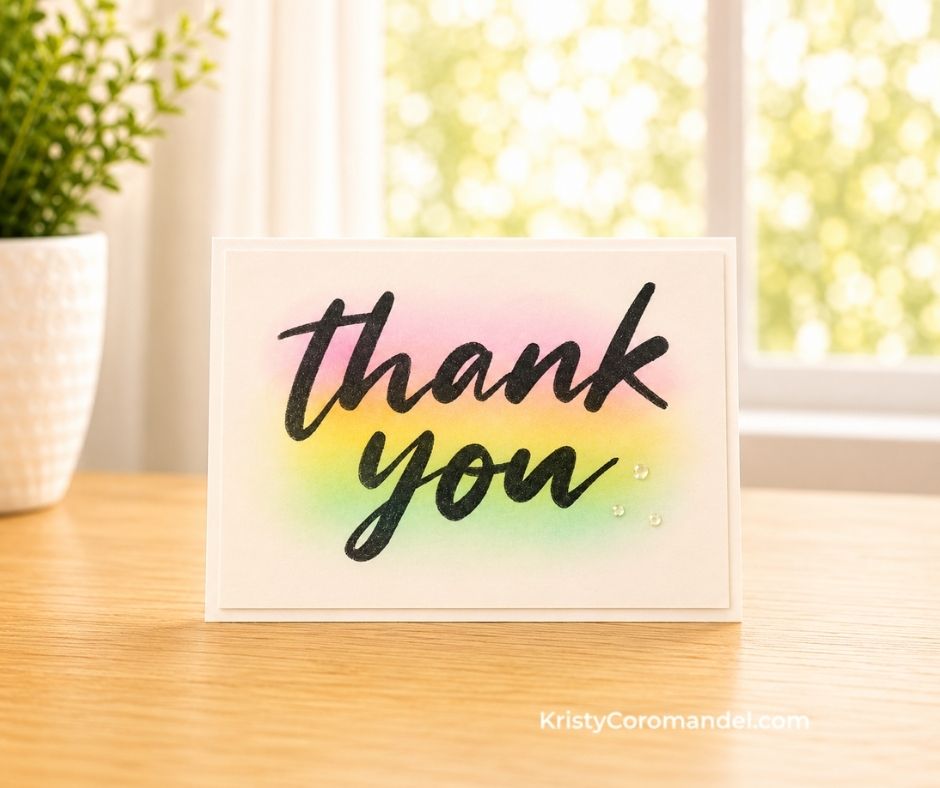
For our final card, we’re taking away the patterned paper and letting colour become the feature.
Behind the bold black greeting I’ve added a soft blend of Melon Mambo, Daffodil Delight and Coastal Cabana ink.
The colours don’t cover the entire cardstock panel. Instead, they create a loose wash of colour behind the sentiment, allowing plenty of white space to remain around the edges.
A few small embellishments add the finishing touch.
What I love about this technique is that the blending doesn’t need to be perfect.
You’re not trying to create a flawless rainbow from edge to edge. You’re simply adding soft areas of colour that peek out from behind the greeting.
That makes this a wonderful technique to experiment with if you’re still getting comfortable with ink blending.
Beginner Tip
Start with a very light hand. It’s much easier to gradually add more ink than it is to remove colour once you’ve applied too much. Build your colour slowly and don’t worry if the blend isn’t completely perfect — the large sentiment will become the star once it’s stamped over the top.
One Stamp, Three Completely Different Looks
Put these three cards beside each other and you can see why I enjoy projects like this so much.
We haven’t needed three different stamp sets to create three different cards.
Instead, we’ve taken one simple stamp and changed what surrounds it.
Card 1: Let the sentiment do all the work.
Card 2: Introduce pattern, layers and texture.
Card 3: Experiment with colour and ink blending.
It’s a simple progression, but it’s also a great way to build creative confidence.
Rather than looking at a new stamp and wondering, “What am I supposed to make with this?”, try asking yourself:
What could I change?
Could you change the colour?
Add a patterned paper?
Introduce some texture?
Create a background?
Change the orientation?
Add an embellishment?
Those little questions can turn one starting idea into many different card designs — without needing to reinvent the wheel every time you sit down to create.
Which Thank You Card Would You Make?
If you’re newer to card making, start with the first card and keep things beautifully simple.
Then, when you’re ready, try adding one new element.
A little patterned paper.
Some texture.
A piece of twine.
Or perhaps pull out your blending brushes and experiment with a soft background.
You don’t have to jump straight from beginner to complicated.
Creative confidence grows every time you make something, experiment with one new idea and discover, “Oh! I can do that.”
And that’s exactly what these three projects are designed to help you do.
So tell me — which of the three Thanking You cards is your favourite: the clean and simple purple card, the layered card, or the colourful ink-blended version?