Cardmaking Adhesive: How to Choose the Right One (Beginner-Friendly Guide)
Liquid glue, tape runner, glue dots, foam adhesive… when you’re new to cardmaking, it can feel like you need a different adhesive for every single thing you stick down. It’s easy to look at all those options and feel a bit stuck before you’ve even started.
Here’s the good news: you really don’t need all of them. Choosing the right cardmaking adhesive is far simpler than it looks, and once you know what each one is for, the guesswork disappears.
In this guide, I’ll walk you through the four adhesives I reach for most, what I use each one for, and how to pick the right one for your project — plus the one beginner mistake that catches almost everyone out. This lesson is part of my Back to Basics series, where we focus on one simple cardmaking skill at a time.
Watch the Tutorial
Prefer to watch and learn? Here’s the full step-by-step video:
If you’re building your skills one step at a time, subscribe so you don’t miss the next lesson — I release new beginner tutorials regularly.
What You’ll Need
Keep this simple — no overwhelm here:
- Liquid glue (multipurpose)
- Tape runner or dry adhesive
- Glue dots
- Foam adhesive (Stampin’ Dimensionals)
- A few scraps of cardstock to practise on
How to Choose Your Cardmaking Adhesive: Step-by-Step
1. Liquid Glue — Your Everyday Option
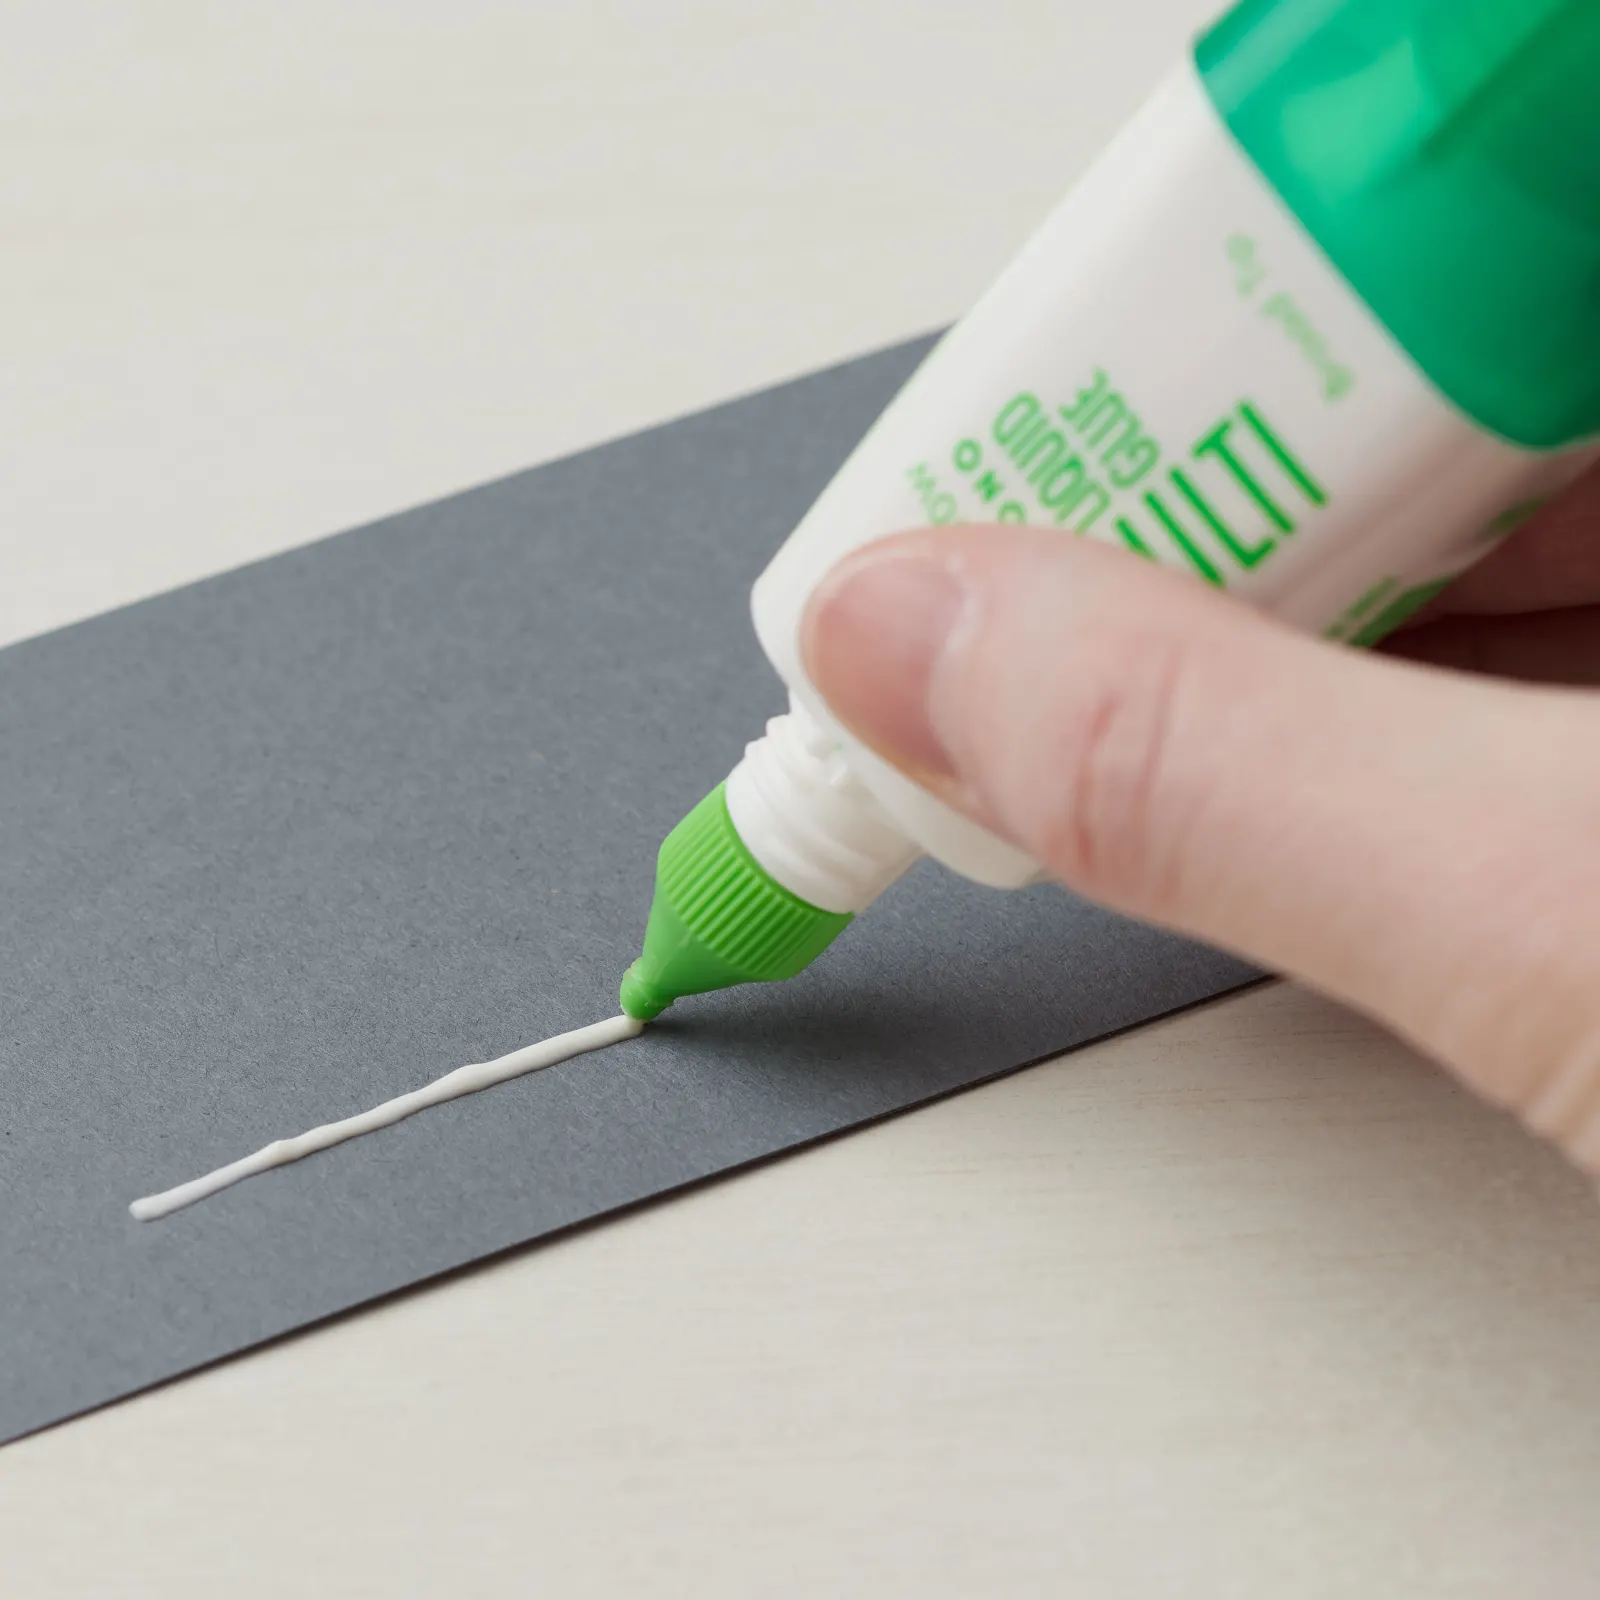
Start with liquid glue, because this is the adhesive you’ll reach for most. It’s perfect for attaching cardstock layers, patterned paper and the everyday pieces that make up most cards.
👉 A thin line or a few small dots is plenty — you don’t need much at all.
Quick tip: Liquid glue gives you a few seconds of wiggle room, so you can gently slide a layer into place and get your borders nice and even before it grabs. That’s a real gift when you’re still getting comfortable lining things up.
2. Tape Runner — Quick and Clean
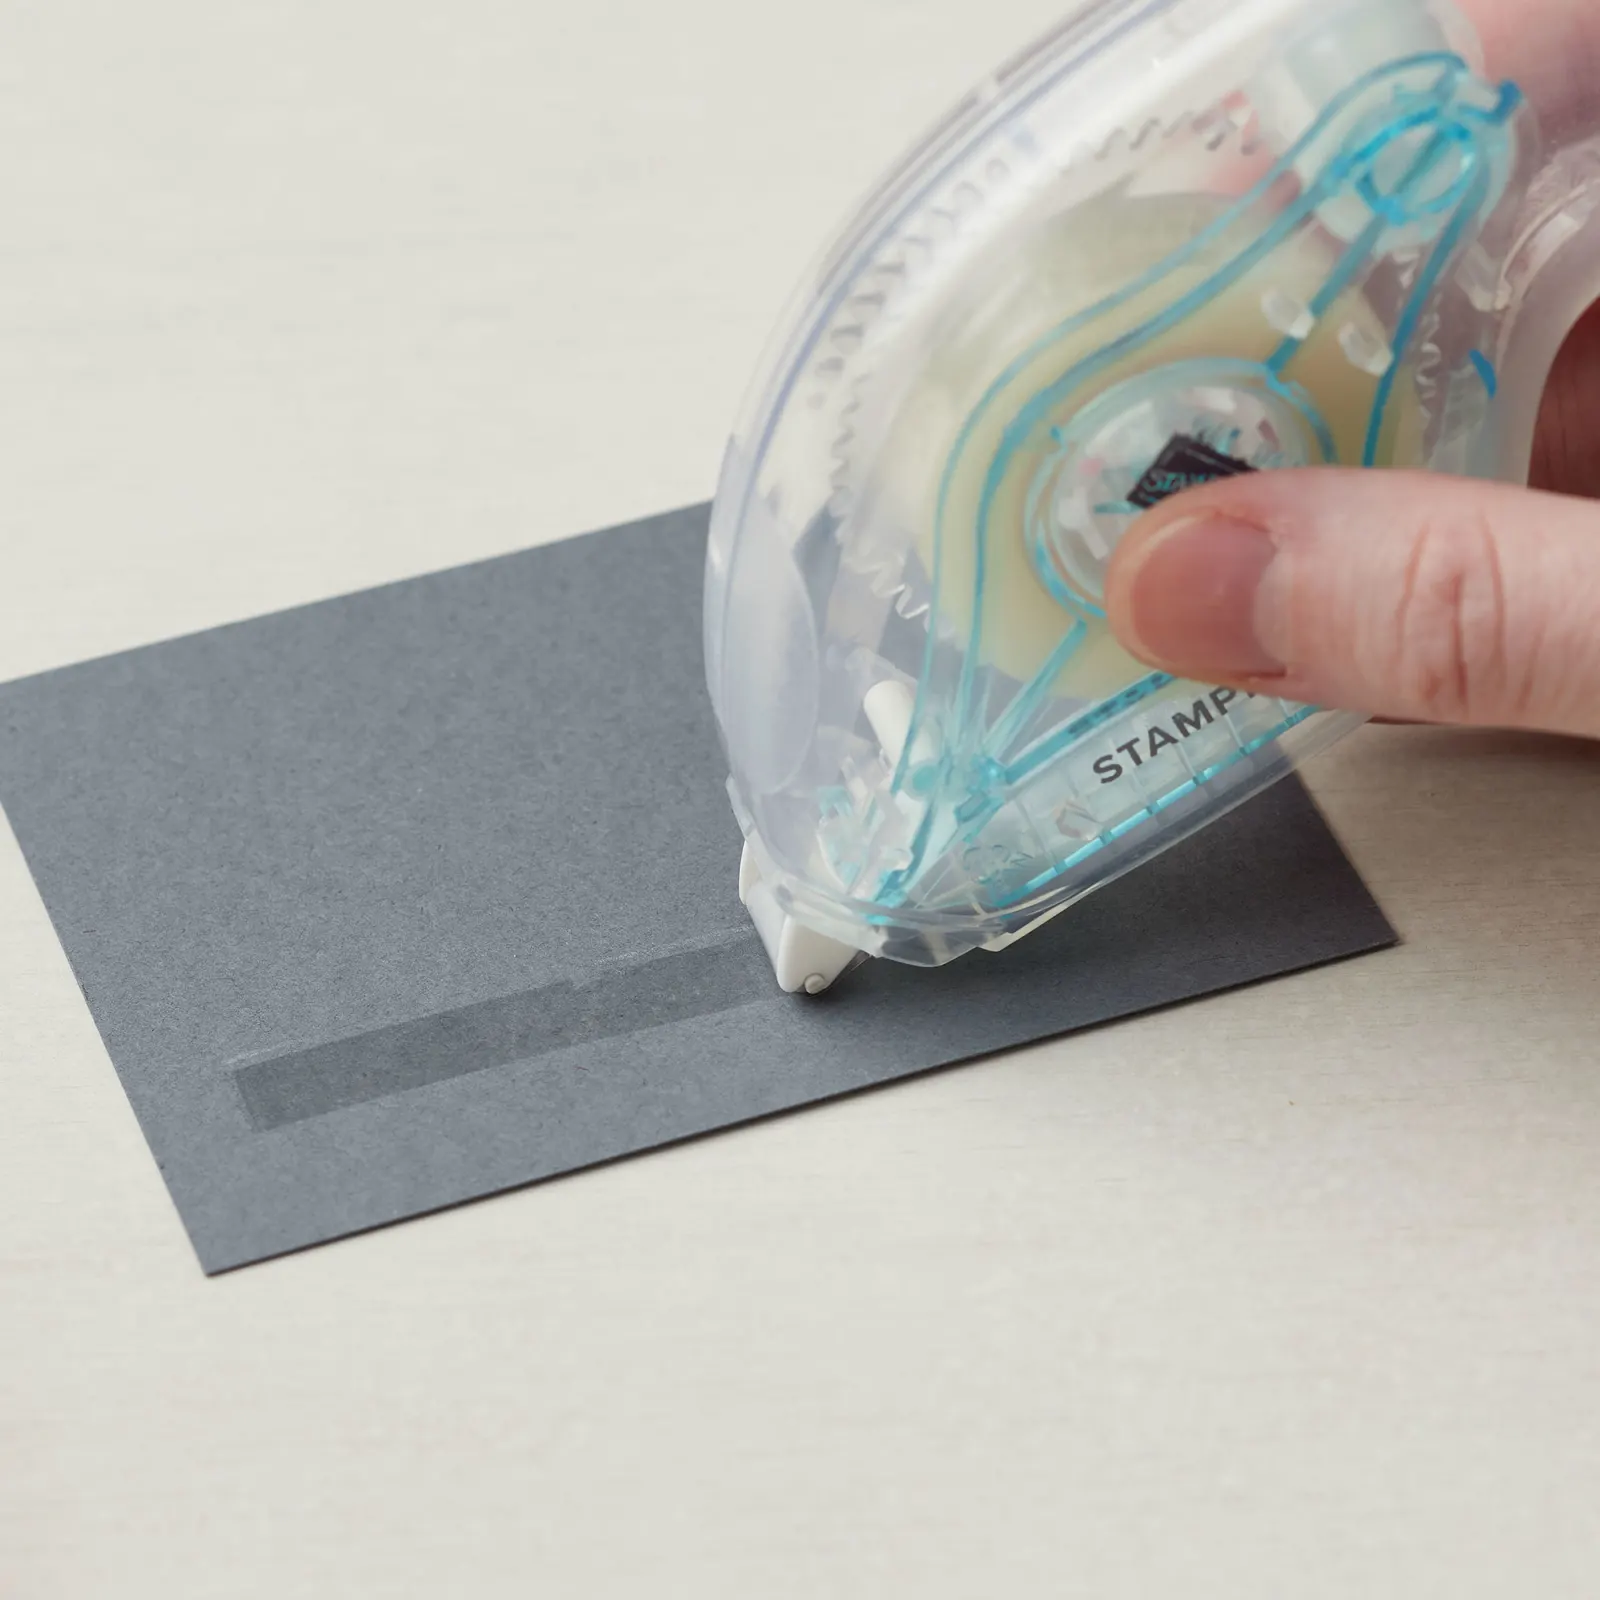
A tape runner (or dry adhesive) does a similar job to liquid glue, but it’s ready to stick straight away — no drying time. It’s quick, clean and mess-free.
👉 The trade-off is less wiggle room, so once you press your layer down it’s tricky to move.
Quick tip: If you’re still working on getting your layers straight, liquid glue is a little more forgiving. Reach for the tape runner once you’re feeling confident with placement.
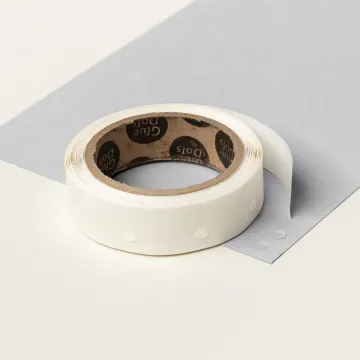
3. Glue Dots — For Small or Awkward Pieces
Glue dots are little dots of strong adhesive, and they’re brilliant for the pieces liquid glue struggles with — bows, ribbon and small embellishments that need an instant, secure hold.
👉 Instead of peeling a dot off with your fingers, press your embellishment straight onto the dot, then lift it away.
Quick tip: Pressing rather than peeling keeps the glue on your project (not all over your fingers) and makes fiddly pieces so much easier to place.
4. Foam (Dimensional) Adhesive — When You Want Dimension
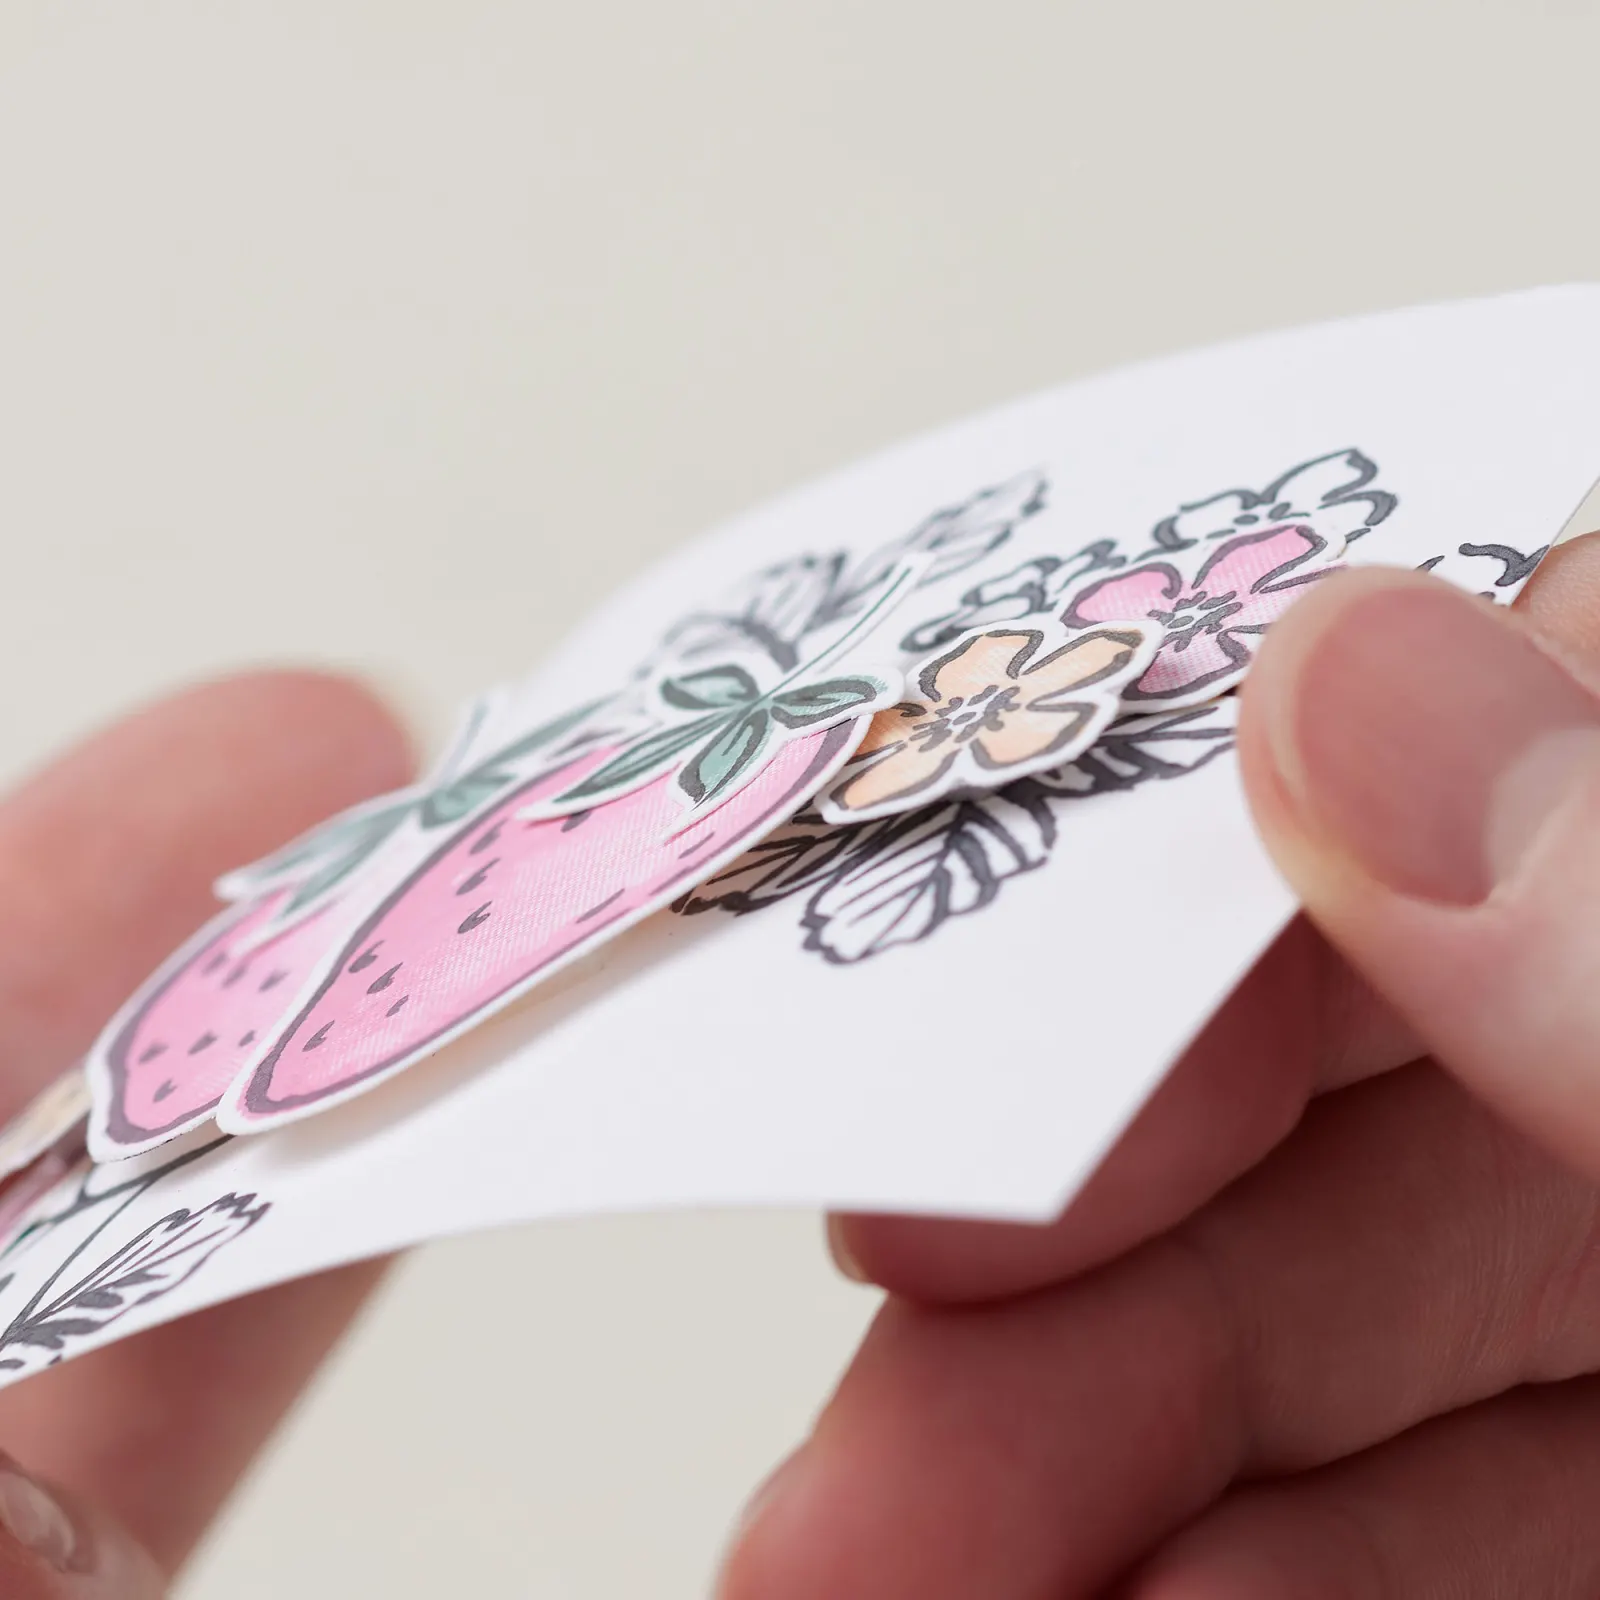
Foam adhesive, or Dimensionals, doesn’t just stick a piece down — it lifts it away from the card, adding a little height. That lift helps a sentiment or focal image stand out from everything around it.
👉 You don’t need it on everything — think of it as a design tool for the one thing you want to draw attention to.
Quick tip: An easy way to remember it — flat = regular adhesive, lifted = foam adhesive.
💡 Tips for Best Results
- Start with just one good everyday adhesive — liquid glue is all you need to begin.
- Less is more: a thin application holds beautifully and keeps your paper flat.
- Match the adhesive to the piece — everyday layers, small embellishments and dimension each have their favourite.
- Wait a moment when you want to reposition — liquid glue’s few seconds of grab-time are your friend.
- Press, don’t peel, your glue dots for cleaner, easier placement.
- Save foam (dimensionals) adhesive for the one piece you want to lift and highlight.
⚠️ Common Mistakes (and Easy Fixes)
Using too much glue → It feels safer, but more adhesive doesn’t mean a stronger card.
✔ Fix: Use a light hand. Too much liquid glue squeezes out at the edges and wrinkles thinner paper.
Reaching for the tape runner too soon → It’s quick, but you can’t reposition once it’s down.
✔ Fix: While you’re still lining up layers, use liquid glue for its wiggle room.
Peeling glue dots with your fingers → They stick to you instead of your project and turn into a sticky mess.
✔ Fix: Press your embellishment onto the dot first, then lift it away.
Popping everything up on foam → When every piece is lifted, nothing actually stands out.
✔ Fix: Choose one focal point to raise, and keep the rest flat.
What to Try Next
- Glue down a simple layer with liquid glue and practise sliding it straight.
- Add the same layer using a tape runner and feel the difference in grab-time.
- Stick a little bow or embellishment on with a glue dot.
- Pop a sentiment up on foam adhesive and see how it lifts off the card.
- Make one whole card using just liquid glue — proof you don’t need a drawer full of options.
👉 Keep it simple — you’re building confidence, not perfection.
Frequently Asked Questions About Stamping Blocks
FAQs
You’ve Got This
You really don’t need every adhesive on the craft-store shelf to make beautiful cards. Start with one good everyday glue, learn what works for you, and add the others when you actually have a reason to reach for them. Simple beats complicated every time.
Keep Building Your Cardmaking Skills
- Working through the basics? Follow along with the full Back to Basics series – each lesson is one simple skill at a time.
- Want a little more support as you grow your skills and creative confidence? You’re always welcome inside Paper Crafter’s Academy
Happy stamping — I can’t wait to see what you create. 💛