How to Use a Bone Folder — Beginner Cardmaking Guide
Have you ever made a handmade card that just wouldn’t close properly — or noticed the fold looked cracked or a little uneven? You’re not doing anything wrong. Most beginners run into this exact thing.
The good news is there’s a tiny, inexpensive tool that fixes both problems, and it only takes a few seconds to use once your card is scored.
This post is part of my Back to Basics series, where we build cardmaking confidence one simple skill at a time. Today we’re looking at the bone folder — why it matters, and how to use it so every card you make closes cleanly and looks polished.
Watch the Tutorial
Prefer to watch and learn? Here’s the full step-by-step video:
What You’ll Need
Keep this simple — no overwhelm here:
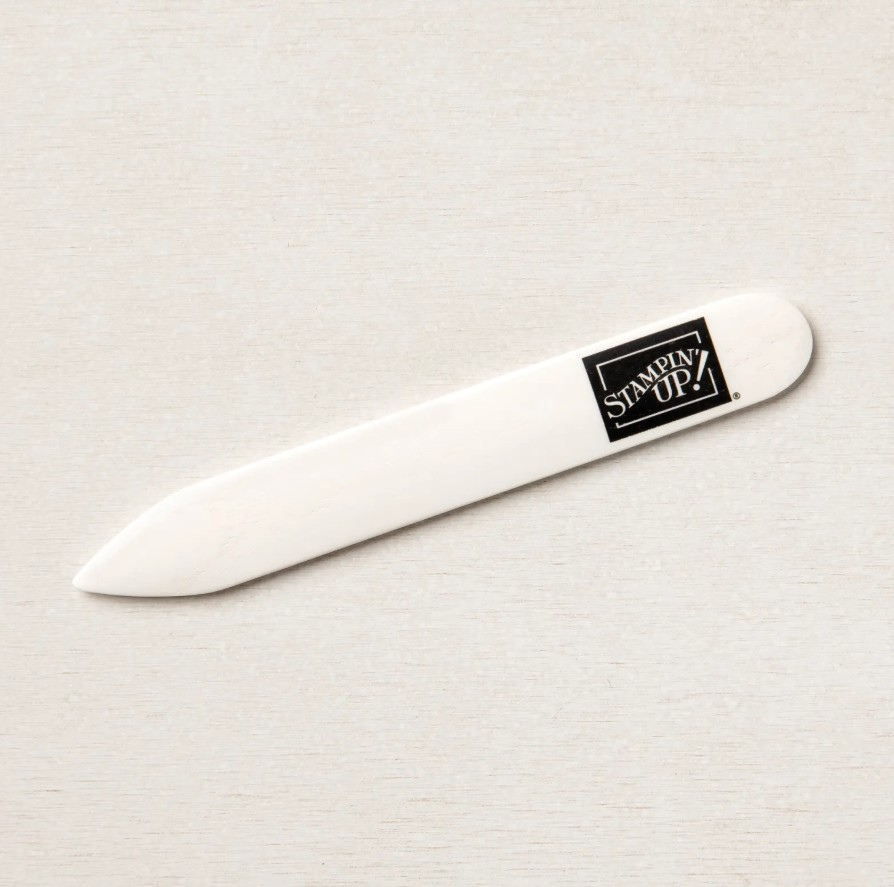
- Bone folder
- A scored card base (see How to Create a Standard Card Base)
- Paper Trimmer (for scoring, if you haven’t already)
- Your cardstock of choice


How to Use a Bone Folder: Step-by-Step
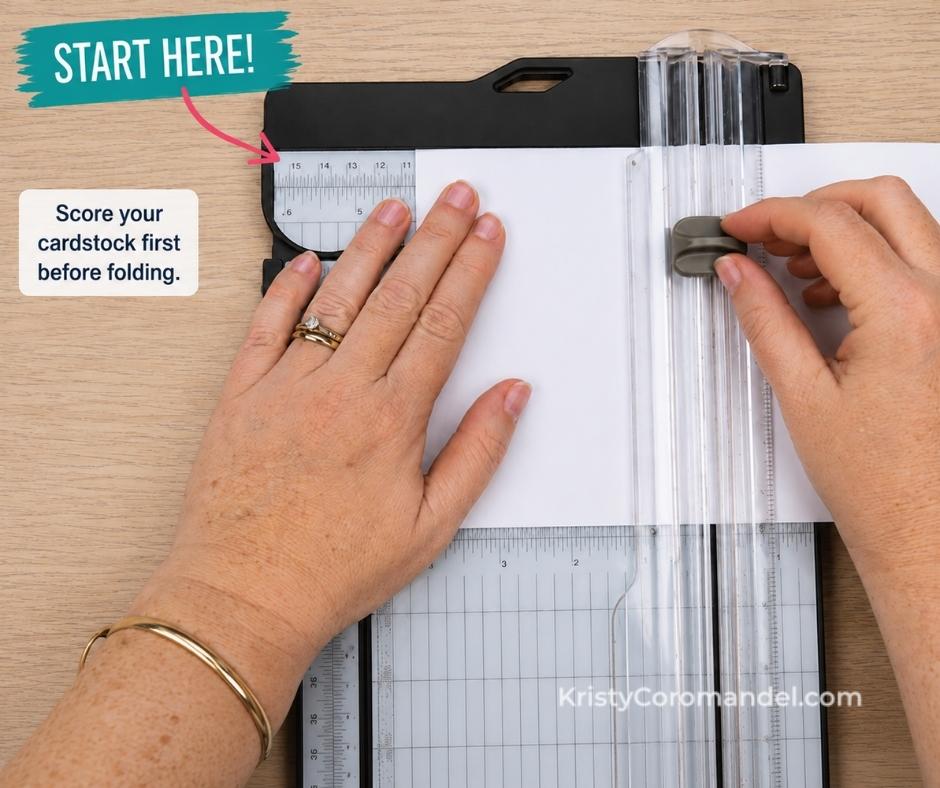
1. Score Your Card Base First
Before you reach for your bone folder, your cardstock needs a score line to fold along. 👉 If you haven’t scored yet, run your cardstock through your Paper Trimmer’s scoring blade first.
2. Fold Along the Score Line by Hand
Gently bring the two edges of your cardstock together and crease it lightly with your fingers. 👉 Don’t force it — a light hand-crease is all you need before burnishing.
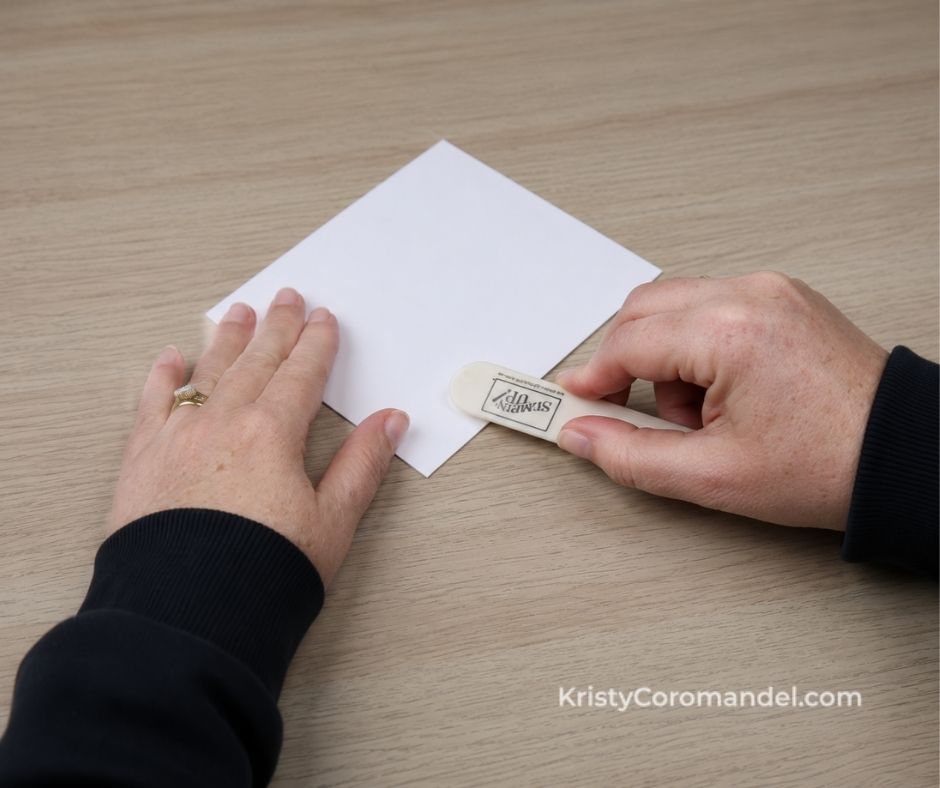
3. Burnish the Fold with Your Bone Folder
Starting at one end of the fold, glide your bone folder smoothly along the crease using gentle, even pressure. 👉 Let the tool do the work — you don’t need to press hard.
Quick tip: One smooth pass is usually enough. If the fold still feels soft, go over it a second time with the same light pressure rather than pressing harder.
4. Check the Difference
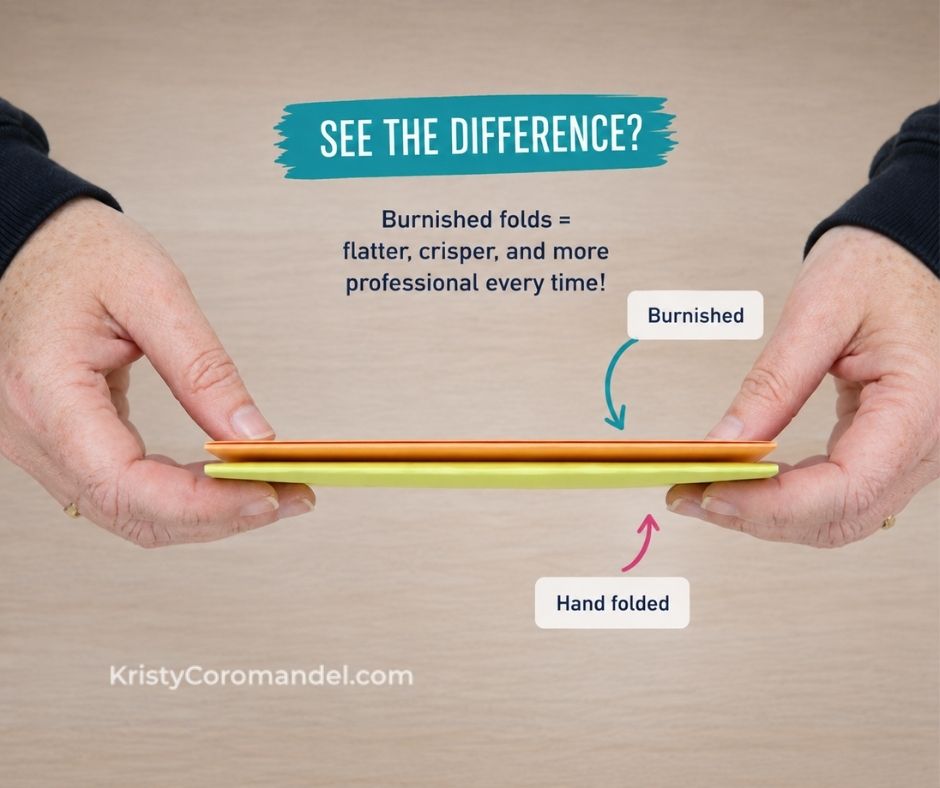
Open your card and run your finger along the fold. It should feel flat, crisp, and sit closed without springing open. 👉 Compare it to an unburnished, hand-folded card if you want to see just how much of a difference this tiny step makes.
💡 Tips for Best Results
- Light pressure gives you a crisp fold without any shine or damage.
- Score first — burnishing works best on a fold that already has a score line to follow.
- Rounded edge is what you’ll use most often for folding and burnishing.
- Pointed end comes in handy for scoring by hand or nudging small pieces into place.
- Reuse it often — a bone folder is also great for flattening adhesive-backed layers, sharpening fun fold cards, and creasing gift boxes.
- Keep it nearby — once you start using one, you’ll reach for it in almost every project.
⚠️ Common Mistakes (and Easy Fixes)
Pressing Too Hard → It feels like more pressure means a crisper fold, so beginners often push down hard. ✔ Fix: Use light, even pressure and let the tool glide — especially on darker or coloured-core cardstock, where heavy pressure can leave shiny marks.
Skipping the Hand-Fold First → Going straight in with the bone folder before creasing by hand can pull the fold off-line. ✔ Fix: Always crease gently with your fingers along the score line first, then burnish.
Using the Wrong End → It’s easy to forget the bone folder has two different edges for two different jobs. ✔ Fix: Use the rounded edge for folding and burnishing, and save the pointed end for scoring or detail work.
Only Using It for Card Bases → Many beginners put the bone folder away as soon as the card base is folded. ✔ Fix: Keep it out on your desk — it’s just as useful for flattening layers, boxes, and packaging.
What to Try Next
- Burnish the fold on your next card base and compare it to one you haven’t burnished
- Try using the pointed end to score a simple straight line by hand
- Use your bone folder to flatten a layer after adding adhesive
- Practise on a fun fold card to see how a sharp crease changes the shape
- Keep your bone folder next to your Paper Trimmer so it’s always within reach
👉 Keep it simple — you’re building confidence, not perfection.
FAQs
Do I need a real bone folder, or will any smooth tool work? A proper bone folder is worth having — it’s shaped to glide smoothly and won’t scratch or dent your cardstock the way household items can.
Will a bone folder damage my cardstock? No, as long as you use light pressure. It’s designed to smooth and crease paper, not press marks into it.
What’s the difference between the pointed end and the rounded end? The rounded edge is for folding and burnishing, and the pointed end is handy for scoring or nudging small pieces into place.
Can I use a bone folder without scoring first? You can, but your fold will be neater and easier to control if you score first, then fold, then burnish.
You’ve Got This
Burnishing might be the smallest step in this whole process, but it’s the one that gives your cards that clean, professional finish. You don’t need anything fancy — just a light hand and a few extra seconds per card.
Add it into your routine and you’ll notice the difference straight away.
Keep Building Your Cardmaking Skills
Ready for the next simple skill? Head back to the Back to Basics series to keep learning one step at a time.
And if you’d love more step-by-step support, tools guidance, and a community of beginners just like you, come say hello inside Paper Crafter’s Academy — it’s a warm, low-pressure place to keep building your confidence.
Happy stamping — I can’t wait to see what you create. 💛