How to Line Up Card Layers & Mats | Beginner Cardmaking Guide
Have you ever added a layer to your card, pressed it down… and then noticed one side has a lovely little border and the other side barely has one at all? And once the adhesive grabs, there’s usually no moving it.
If that sounds familiar, you’re definitely not alone. Learning how to line up card layers is one of those skills that sounds tiny but makes a big difference — and the good news is, you don’t need a ruler or any special tools. Just a few simple habits.
In this guide, I’ll show you how to position your layers and mats so your borders look straight and even, how to check before you commit, and what to do if one ends up a little crooked. It’s part of my Back to Basics series, where we learn one simple cardmaking skill at a time.
Watch the Tutorial: How to Line Up Card Layers
Prefer to watch and learn? Here’s the full step-by-step video:
What You’ll Need
Keep this simple — no overwhelm here:
- A card base
- A cardstock mat (slightly smaller than your card front)
- A cardstock layer or panel (slightly smaller than your mat)
- Your favourite adhesive
How to Line Up Card Layers: Step-by-Step
1. Know What You’re Looking For
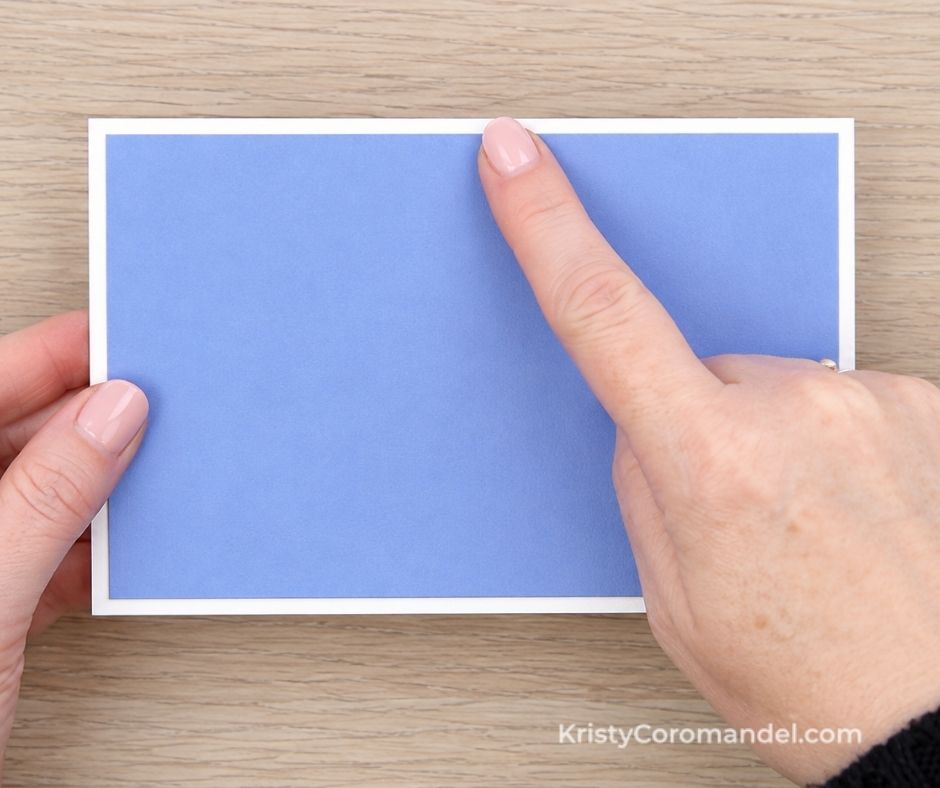
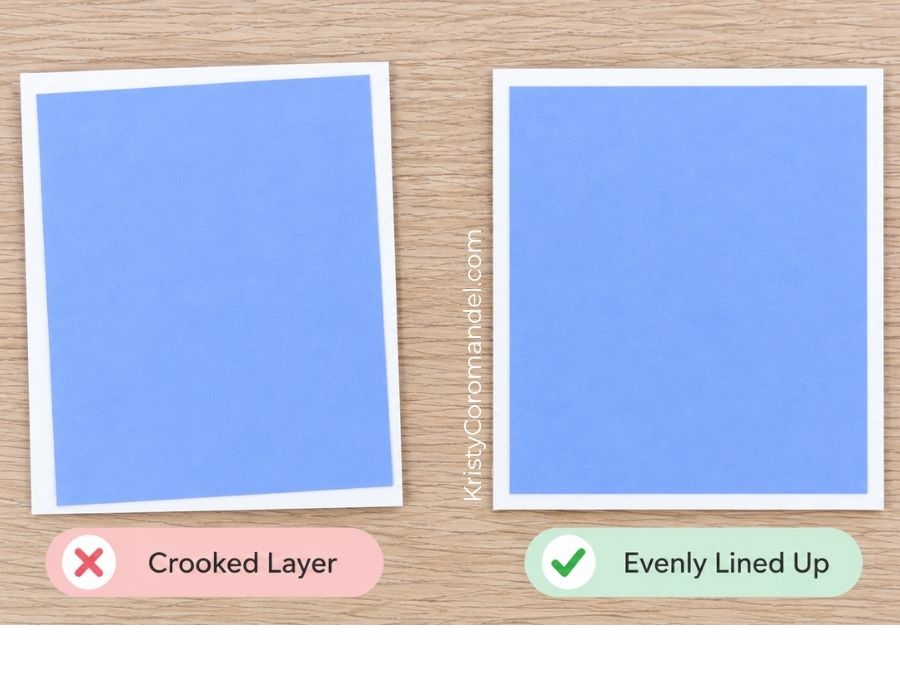
Before you add any adhesive, place your layer on top of your mat and look at the border around the outside.
👉 You’re aiming for a visually even border — not perfection you’d need a magnifying glass to see.
You don’t need to measure all four sides. Instead, let the edges of your cardstock be your guide. Look at the top edge and one side first. If those two borders look right, the other two will usually fall into place — as long as your cardstock was cut straight.
Quick tip: Always do a “dry run” first. Placing your layer without adhesive shows you exactly where it needs to sit.
2. Don’t Drop Your Layer Straight Down
This is where most lining-up problems start. Hovering your layer over the middle and trying to drop it perfectly into place is much harder than it needs to be.
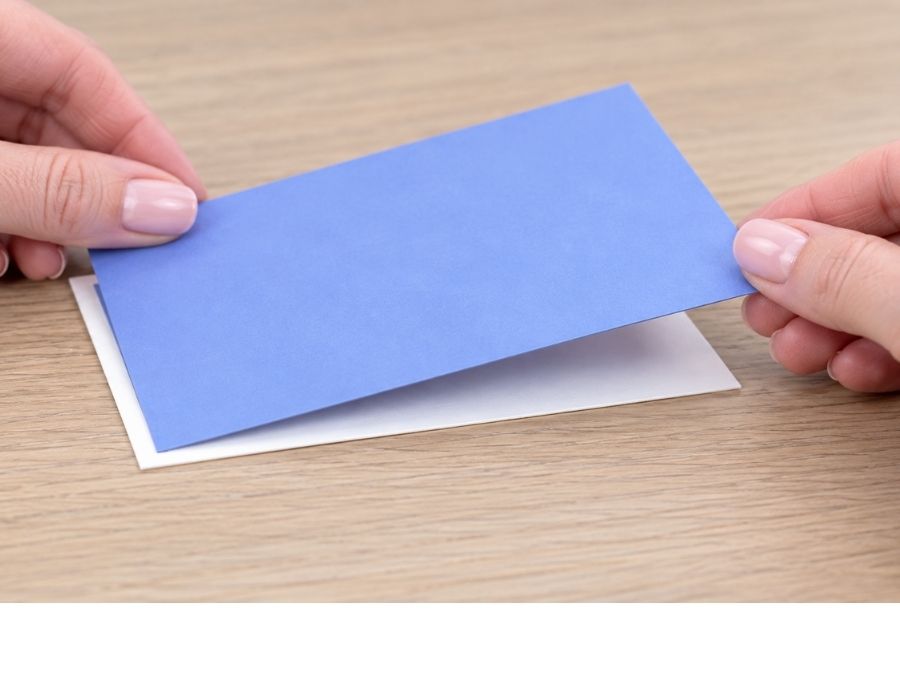
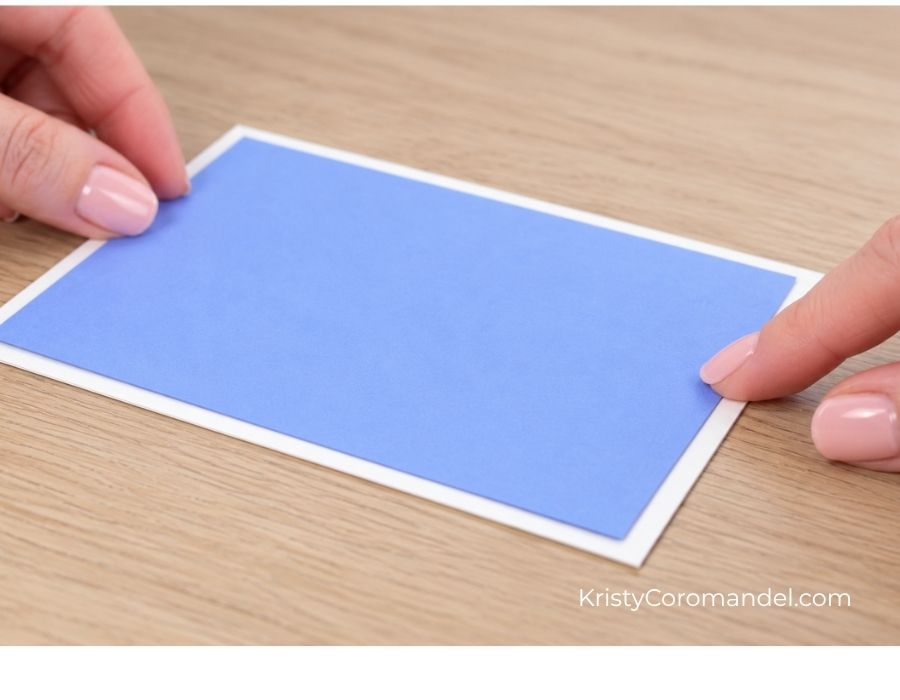
👉 Bring your layer in on a slight angle and set one edge down first.
Gently rest one edge in position without pressing. Check that border. Then check the edge beside it. Once both look good, slowly lower the rest of the cardstock into place.
Quick tip: Setting one edge down first gives you a “hinge” — so you’re only lining up one thing at a time.
3. Use Your Fingers as a Guide
Where you hold your cardstock matters more than you might think.
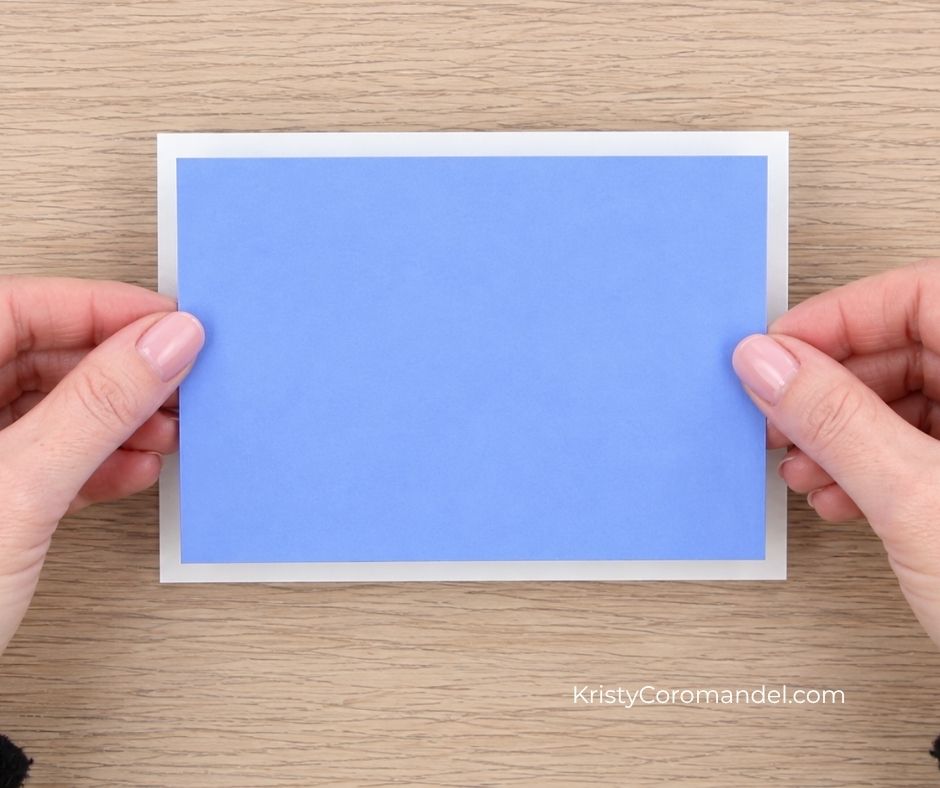
👉 Hold your layer lightly near the edges, not in the middle.
When your fingers are near the edges, you can actually see the borders you’re lining up — and you have more control as you lower the layer. Position your first edge, check your side, then lower.
The more you do this, the more natural it becomes. Before long, you’ll be lining up layers without even thinking about it.
4. Check Before You Press
This is the most important habit of all.
👉 Place it. Check it. Then press.
Let your layer sit lightly on the mat and give yourself a couple of seconds to look at the top border and the side border. If something looks a little off and your adhesive hasn’t grabbed yet, gently nudge it into place. Once you’re happy, press everything down firmly.
Quick tip: Adhesive does exactly what we ask it to do — stick! Those two seconds of checking save a lot of frustration.
💡 Tips for Best Results
- Dry run first — place your layer without adhesive to see where it should sit.
- Top and side — check just two borders; the other two usually follow.
- Angle in — set one edge down first instead of dropping the whole layer.
- Hold the edges — keep your fingers where you can see the borders.
- Start with one mat — master a single layer before adding more.
- Step back — judge your card from normal viewing distance, not up close.
⚠️ Common Mistakes (and Easy Fixes)
Dropping the layer straight down → It’s hard to judge all four borders at once from above. ✔ Fix: Angle your layer in and set one edge down first.
Holding the cardstock in the middle → Your hands hide the borders you’re trying to line up. ✔ Fix: Hold lightly near the edges so you can see your spacing.
Pressing down too quickly → Once the adhesive grabs, there’s often no moving it. ✔ Fix: Place, check, then press — every time.
Borders still uneven after careful lining up → The layer or mat may not have been cut quite square. ✔ Fix: Check your cardstock is cut straight before you start.
Trying to fix a tiny wobble after sticking → Lifting a well-stuck layer can tear or bend your cardstock. ✔ Fix: Look at it from a normal distance — if it still looks good, leave it.
What to Try Next
- Make three card bases, each with one simple mat, and practise the “angle in” method.
- Add a small sentiment panel to one of your cards and line it up using top and side only.
- Try lining up a layer with your eyes closed for the dry run — then open and check! (It’s a fun way to see how much your eye is doing.)
- Look back at a card you’ve already made and notice where the borders are even and where they aren’t.
- Once one layer feels easy, try a card with a mat plus one layer.
👉 Keep it simple — you’re building confidence, not perfection.
FAQs
You’ve Got This
Lining up your layers isn’t about perfection — it’s about a few small habits that make your cards look cleaner and more polished. Place it, check it, press it. The more cards you make, the easier it gets.
Keep Building Your Cardmaking Skills
If you’re just starting out, you’ll find every lesson in my Back to Basics series — one simple skill at a time, in order, just like a mini course. Next up, we’ll build on today’s lesson with Matting & Layering Basics
And if you’d love a little more support as you build your skills and creative confidence, I’d love to welcome you inside Paper Crafter’s Academy — a friendly space to keep learning at your own pace.
Happy stamping — I can’t wait to see what you create.