How to Choose the Right Cardstock for Your Cards — Beginner Cardmaking Guide
Have you ever stood in front of all the different cardstock — in a shop or scrolling online — and wondered whether it actually matters which one you use? You are not alone. Understanding how to choose cardstock for card making can make a significant difference.
With so many weights, colours and finishes, it’s easy to assume you need to understand all of it before you can make a single card. You really don’t.
Choosing the right cardstock for card making is far simpler than it looks. In this guide I’ll walk you through the three jobs cardstock does in a card — and how to pick the right one for each — so you can shop and create with confidence. If you’re looking for tips on how to choose cardstock for card making, you’re in the right place. New here? This is part of my free Back to Basics series for beginner cardmakers.
Watch the Tutorial
Prefer to watch and learn? Here’s the full step-by-step video:
If you’re building your skills one step at a time, subscribe so you don’t miss the next lesson — I release new beginner tutorials regularly.
What You’ll Need
Keep this simple — no overwhelm here:
- Thick cardstock for your card base (I use Thick Basic White)
- Smooth white cardstock for stamping (I use Basic White)
- A few coordinating colours of cardstock for your layers
How to Choose the Right Cardstock: Step-by-Step
1. Know the difference between cardstock and paper
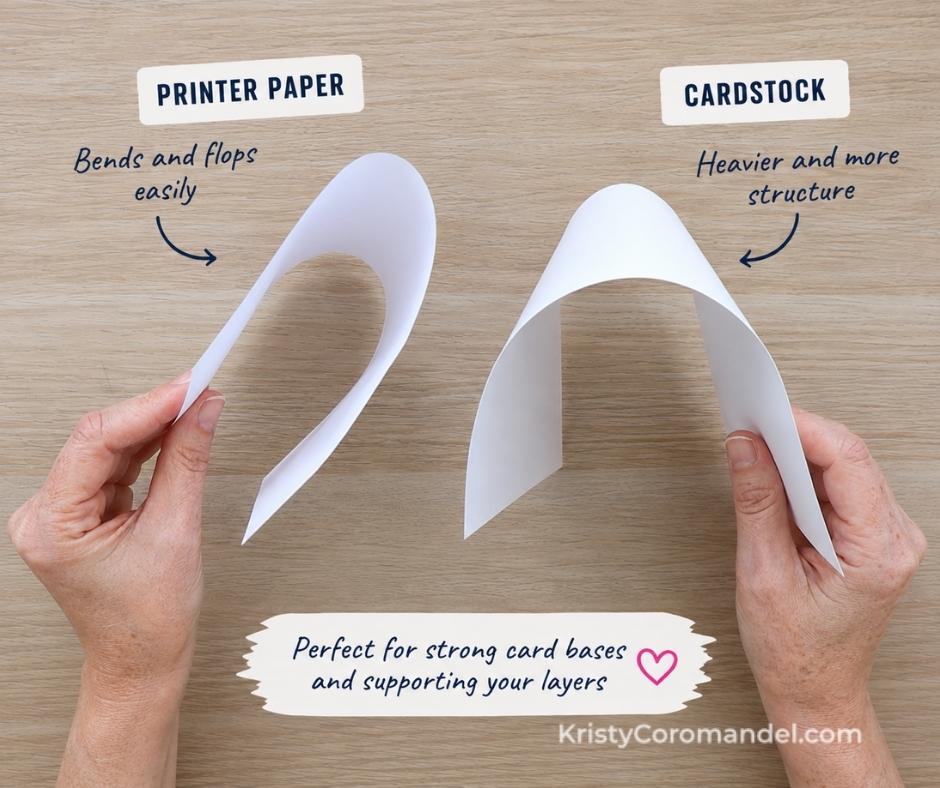
Start by understanding what makes cardstock different from regular paper. Cardstock is simply heavier and sturdier — regular printer paper bends and flops, while cardstock holds its shape. That structure is exactly what supports your card base, your layers and any embellishments you add.
👉 A quick way to tell them apart: give each a gentle bend. Paper flops, cardstock springs back.
Quick tip: For most everyday cardmaking, a good-quality cardstock does most of the work for you. You don’t need anything fancy to begin.
2. Choose a sturdy cardstock for your card base
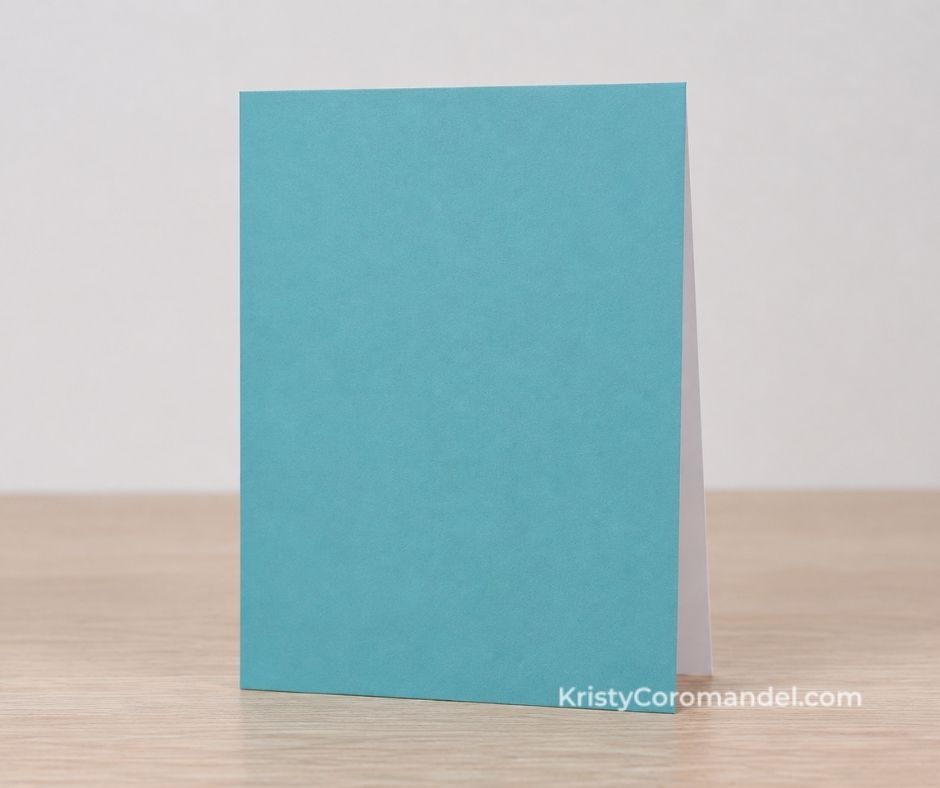
For your card base, reach for a heavier, sturdier cardstock — this is where weight really matters. I generally use Thick Basic White. It’s a little heavier than regular Basic White, so it gives my card a lovely sturdy foundation and helps the finished card stand nicely.
👉 Want a coloured base? Still start with a Thick Basic White base, then simply add a piece of coloured cardstock over the front. You get the look of a coloured card with a sturdy white foundation underneath.
Quick tip: Starting with a white base means you always have a clean white surface inside, ready to write your message — whatever colour is on the front.
3. Choose a smooth cardstock for stamping
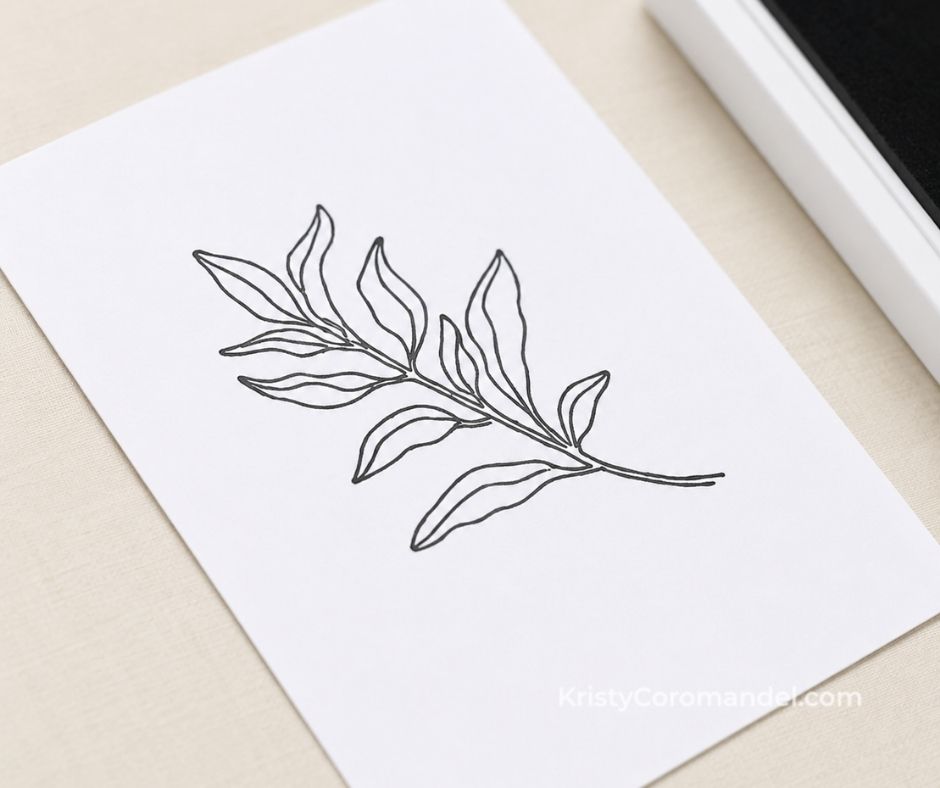
When you’re stamping an image, choose a smooth white cardstock. A smooth surface helps your stamp make good contact and gives you a lovely clean impression — Basic White is my go-to. And remember what we’ve already practised: ink your stamp evenly, bring it straight down, apply gentle even pressure, then lift straight up.
👉 Your cardstock is part of getting that clean result — the smoother the surface, the crisper the image.
Quick tip: You don’t need a cupboard full of speciality papers. A good white cardstock plus a small selection of colours will take you a very long way.
4. Use cardstock to add colour and layers
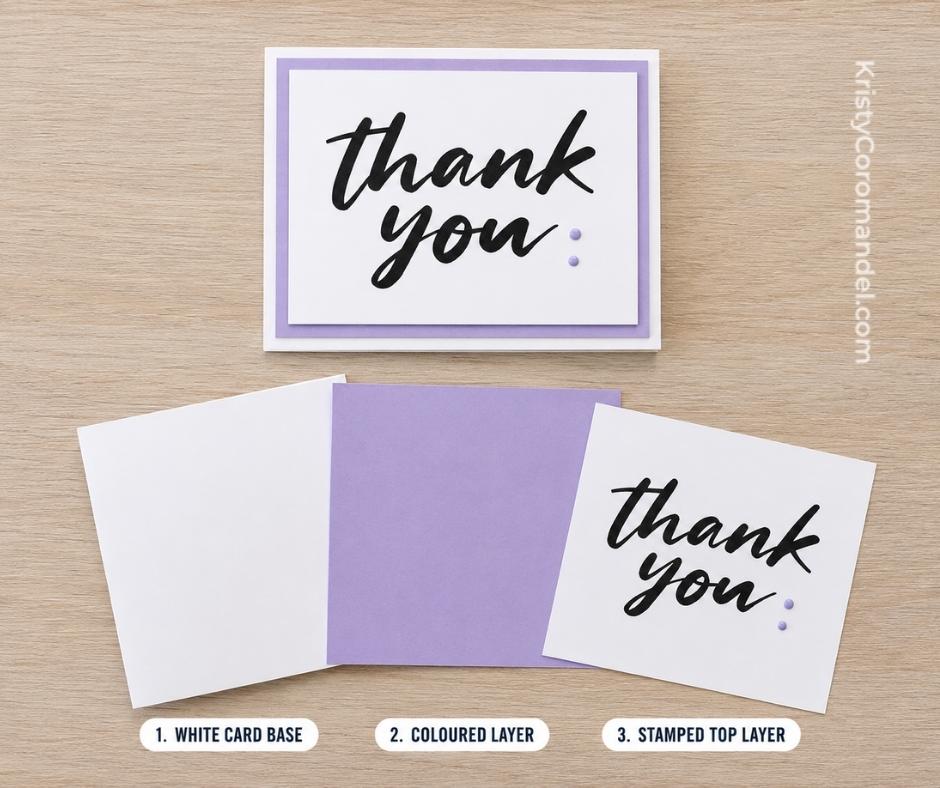
The third job cardstock does is bring in colour and layers. Build a simple card — your base, then a coloured piece, then your stamped white piece on top. Straight away those few pieces add interest and help frame your focal point. (We’ll cover matting and layering properly later in the series.)
👉 You don’t need lots of different materials. Two or three pieces of cardstock are often all a card needs.
💡 Tips for Best Results
- Match the cardstock to the job — sturdy for bases, smooth for stamping, colour for layers.
- Start small: one good white and a handful of colours beats a drawer full you never touch.
- Coordinate your colours so everything you pull out already works together.
- Stock up on Thick Basic White for bases — it’s the piece you’ll reach for most.
- Test a scrap first if you’re not sure how a cardstock takes your ink.
⚠️ Common Mistakes (and Easy Fixes)
Using paper that’s too thin for the base → Lightweight paper flops and won’t stand up on its own. ✔ Fix: Use a thick, sturdy cardstock (like Thick Basic White) for every card base.
Stamping on textured or coated cardstock → A bumpy or slick surface stops the stamp making clean contact, so the image looks patchy. ✔ Fix: Choose a smooth white cardstock whenever you’re stamping an image.
Buying every colour at once → Too many choices makes it harder to start, and a lot of it never gets used. ✔ Fix: Begin with a neutral white and a small set of coordinating colours, then grow your collection slowly.
What to Try Next
- Make one card using just a white base and a single coloured layer.
- Try the coloured-base trick: a Thick Basic White base with a coloured front.
- Stamp the same image on smooth white and on a textured scrap — notice the difference.
- Pull out four colours you love and set the rest aside for a week.
- Build a simple two-layer card, then a three-layer card, and see which you prefer.
👉 Keep it simple — you’re building confidence, not perfection.
Frequently Asked Questions About Stamping Blocks
FAQs
You’ve Got This
See? Choosing cardstock really comes down to one simple question: what job do I need it to do? Sturdy for your base, smooth for stamping, and a little colour for your layers. Start with those, and you’ll have everything you need to make cards you love.
Keep Building Your Cardmaking Skills
- Working through the foundations? Follow along with the full Back to Basics series and learn each skill in order.
- When you’re ready to go a little deeper, you’re always welcome inside Paper Crafter’s Academy — a gentle, supportive place to keep growing your skills.
Happy stamping — I can’t wait to see what you create. 💛