How to Clean Your Stamps — A Simple Beginner-Friendly Routine
Have you ever finished stamping a card and thought, “Wait… am I supposed to clean this now?”
Or maybe you’ve opened a drawer, found an old stamp with dried ink all over it, and quietly thought, “Oops.”
If so, you’re in good company — this is one of the most common little questions new card makers have. The good news? Cleaning your stamps is quick, easy, and only takes a few seconds. In this guide I’ll walk you through the simple routine I use every single time I stamp, so your stamps stay in great shape and ready for your next project.
This post is part of my Back to Basics series, where we focus on one simple skill at a time — no overwhelm, just steady wins.
Watch the Tutorial
Prefer to watch and learn? Here’s the full step-by-step video:
What You’ll Need
Keep this simple — no overwhelm here:
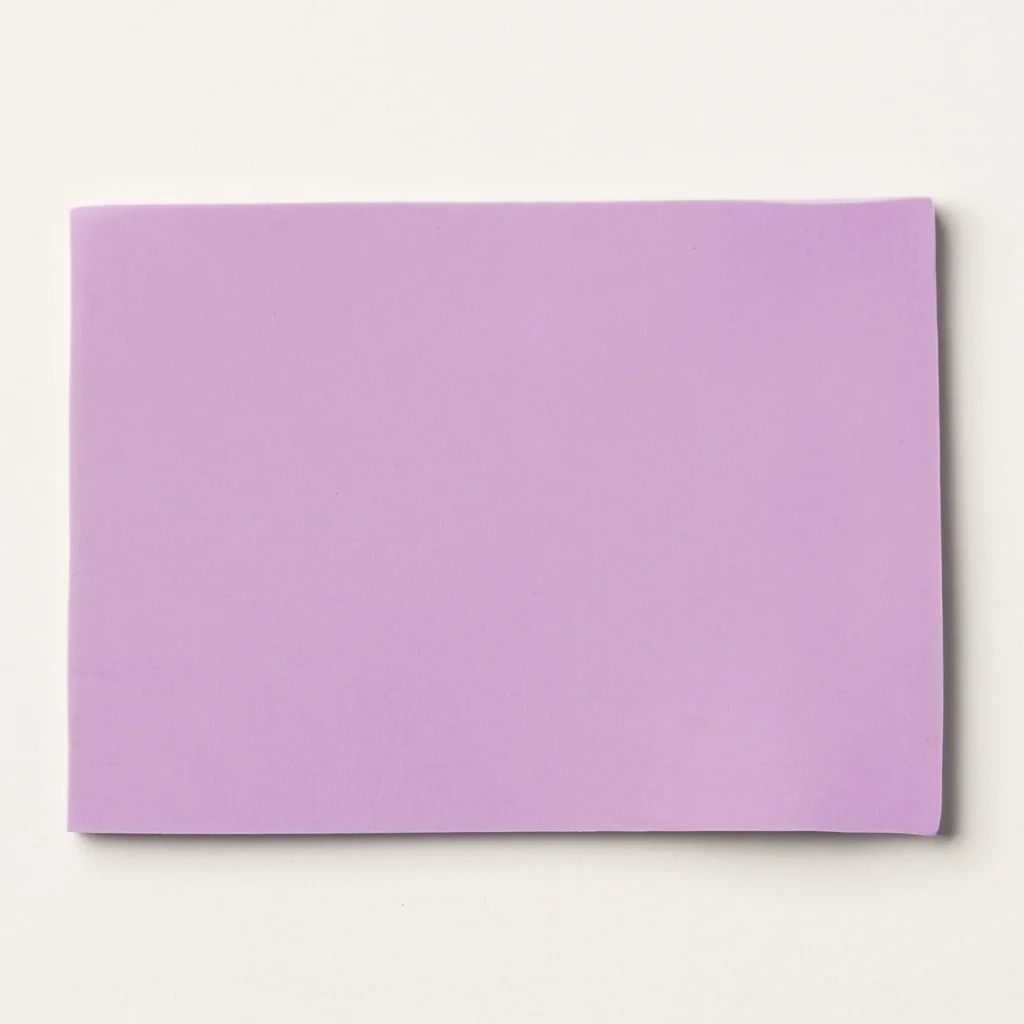
- A Simply Shammy (lightly dampened)
- The stamp you’ve just used
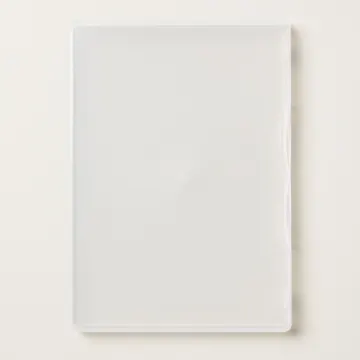
- Its storage sheet or case for putting it away
How to Clean Your Stamps: Step-by-Step
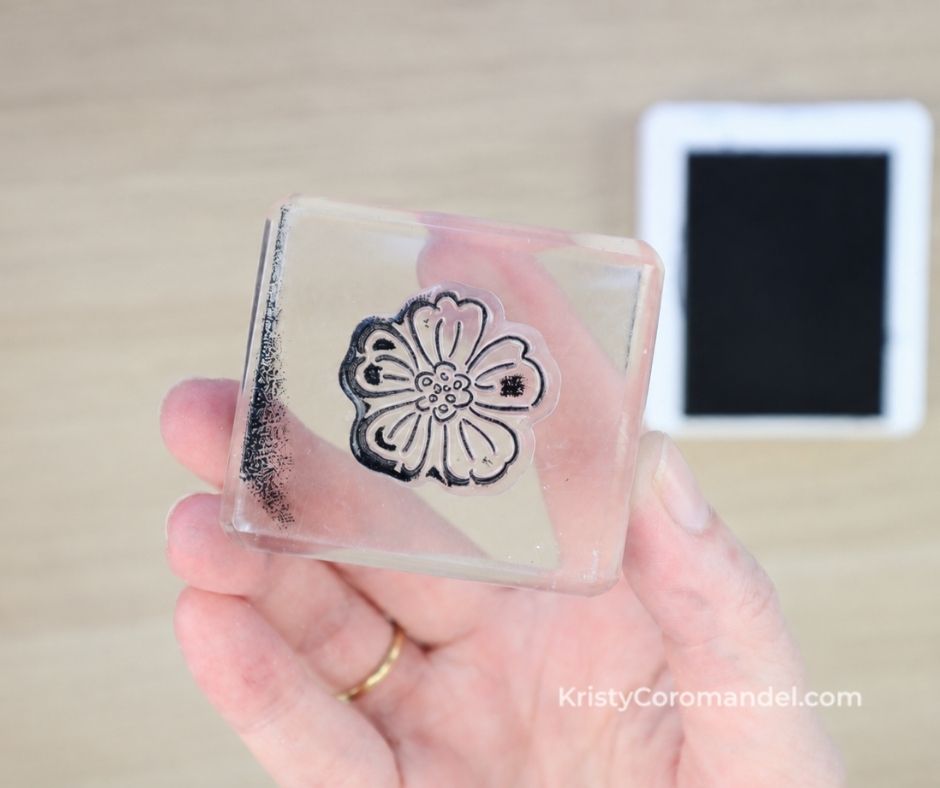
1. Clean While the Ink Is Fresh
The best time to clean your stamp is right after you’ve finished stamping.
👉 Fresh ink lifts away far more easily than dried ink, so cleaning straight away actually saves you time later.
Quick tip: Make it a habit to clean as part of finishing a stamp, not as a separate chore for “later.”
2. Wipe the Stamp on the Simply Shammy
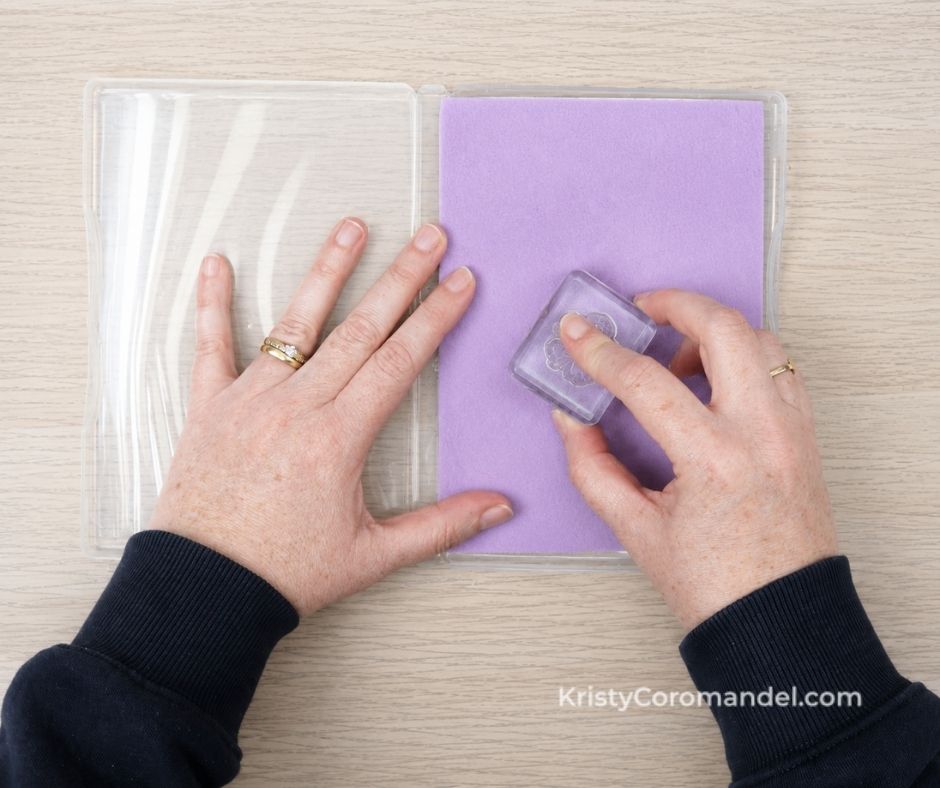
Gently wipe your stamp back and forth across the damp shammy until the ink is removed.
👉 That’s genuinely it — no sprays, no scrubbing, no complicated process. Just a quick wipe and your stamp is ready for next time.
Quick tip: Don’t overthink this. You’re simply removing the ink before you put the stamp away.
3. Check the Detailed Areas
If your stamp has fine details or small lettering, take a quick look to make sure no ink is hiding in the tiny gaps.
👉 If you spot any, just wipe over the stamp once more with the shammy.
This only takes a few seconds, and it helps keep your stamped images crisp and clean.
4. Put Your Stamp Away
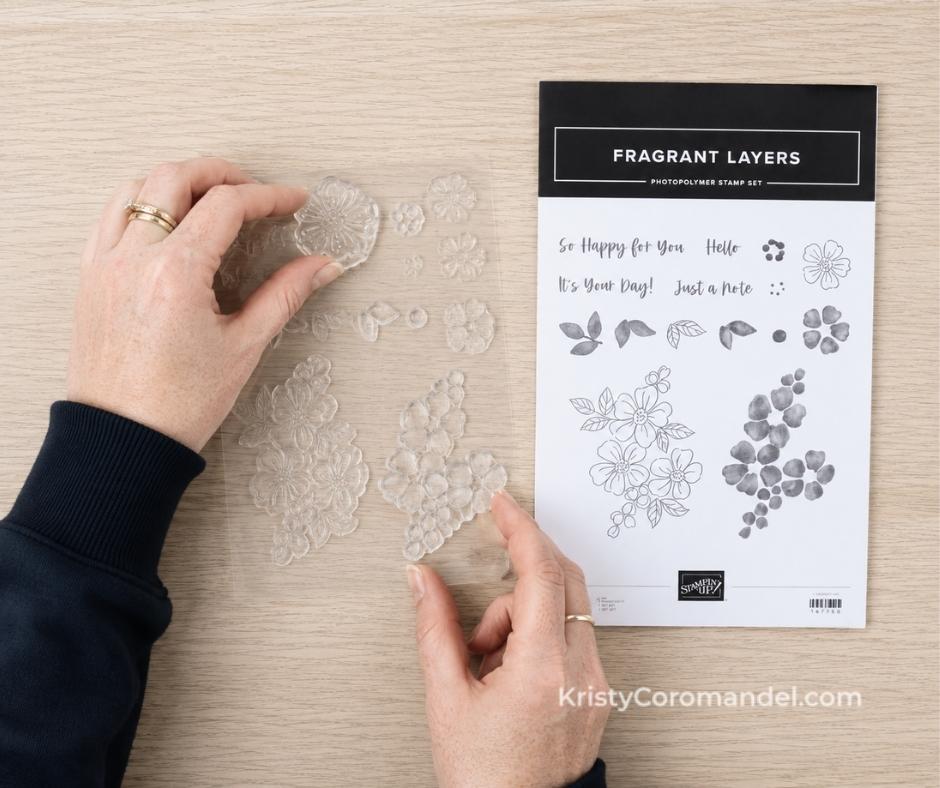
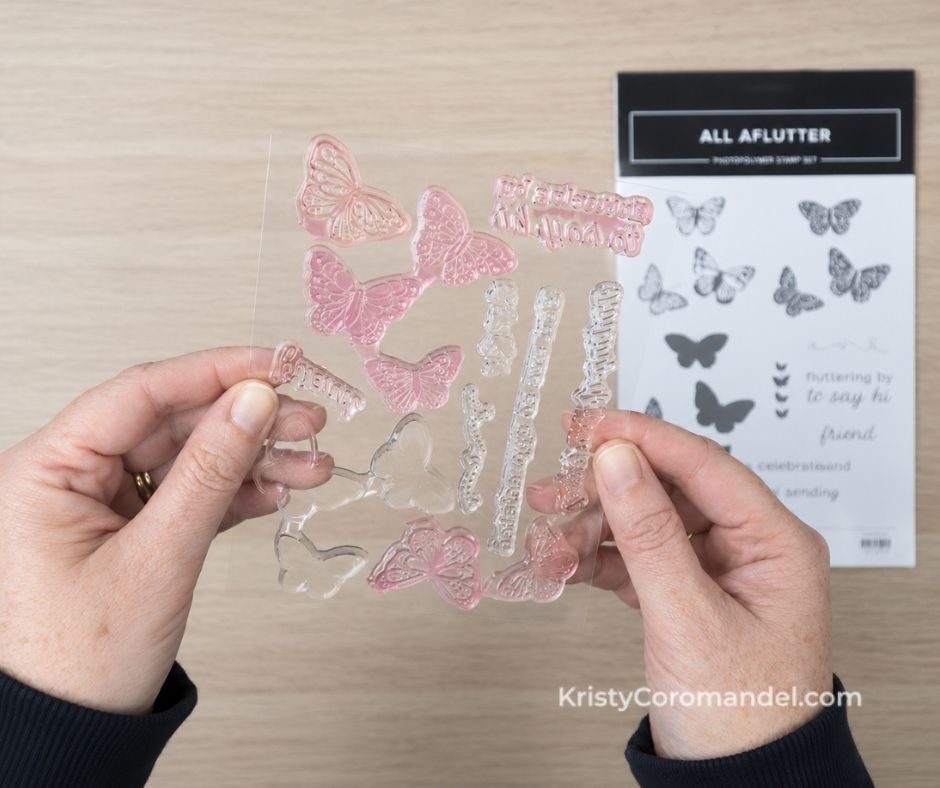
Once your stamp is clean, pop it straight back onto its storage sheet or into its case.
👉 A quick clean after each session keeps your stamps in great condition and ready to go next time.
💡 Tips for Best Results
- Clean straight away — fresh ink comes off in seconds, dried ink doesn’t.
- Keep it gentle — a light wipe is all you need; no scrubbing required.
- Dampen, don’t soak — your shammy should be lightly damp, not dripping.
- Check the details — fine lettering hides ink, so give it a second look.
- Don’t chase perfection — a faint colour stain is completely normal (more on that below).
⚠️ Common Mistakes (and Easy Fixes)
Letting the ink dry on the stamp → It’s easy to set a stamp aside and forget it, but dried ink is much harder to remove. ✔ Fix: Build cleaning into your routine — wipe as soon as you’ve finished with each stamp.
Worrying about a stained stamp → Darker inks like reds, blues and greens can leave colour behind, which looks like the stamp is still dirty. ✔ Fix: Relax — a stamp can be stained and still be perfectly clean. If no ink transfers onto your paper, it’s good to go.
Reaching for sprays or scrubbing → New crafters often assume cleaning needs to be a big production. ✔ Fix: Keep it simple — a damp shammy and a quick wipe does the job beautifully.
Skipping the detailed areas → Ink loves to hide in fine lines and small letters, which can muddy your next image. ✔ Fix: Take two seconds to check the details and wipe again if needed.
Myth-Buster: A stained stamp is not a dirty stamp.
Some inks naturally leave colour behind, especially darker shades. As long as the surface is clean and no excess ink is transferring onto your projects, your stamp is absolutely fine to use. So if your clear stamps aren’t crystal clear anymore — that’s completely normal.
What to Try Next
Now that cleaning is second nature, try building these small habits:
- Clean each stamp the moment you finish using it.
- Keep your Simply Shammy within easy reach of your crafting space.
- Give detailed stamps a quick double-check before storing.
- Notice which inks tend to stain (so you’re not surprised later).
- Return every stamp to its sheet or case so nothing goes missing.
👉 Keep it simple — you’re building confidence, not perfection.
FAQs
You’ve Got This
Cleaning your stamps really is one of the easiest habits you’ll ever build as a card maker. It takes seconds, keeps your supplies in lovely condition, and means you’re always ready for your next creative session. Don’t overthink it — a quick wipe is all it takes.
Keep Building Your Cardmaking Skills
If you’re working through the foundations, keep the momentum going:
- ▶️ Follow along with the full Back to Basics series and build your skills one simple step at a time.
- 💛 When you’re ready to go deeper — with guided practice, feedback and a supportive community — you’re warmly invited to join the Paper Crafter’s Academy. No pressure, just a lovely place to grow.
Happy stamping — I can’t wait to see what you create. 💛