Stamping Blocks for Beginners: How to Choose and Use Them with Confidence
Ever stared at a little stack of clear acrylic blocks and wondered which one am I actually meant to use? You’re not alone — it’s one of the most common beginner questions I hear.
The good news: learning how to use stamping blocks is genuinely one of the easiest skills in cardmaking. There’s no glue, no guesswork, and once you know the one simple rule for choosing a size, you’ll never second-guess it again.
The Simple Transformation: By the end of this guide, you’ll know exactly which block to reach for, how to mount your stamp, and the small trick that gives you a crisp, even image every time.
Watch the Tutorial
Prefer to watch and learn? Here’s the full step-by-step video:
If you’re building your skills one step at a time, subscribe so you don’t miss the next lesson — I release new beginner tutorials regularly.
What Is a Stamping Block?
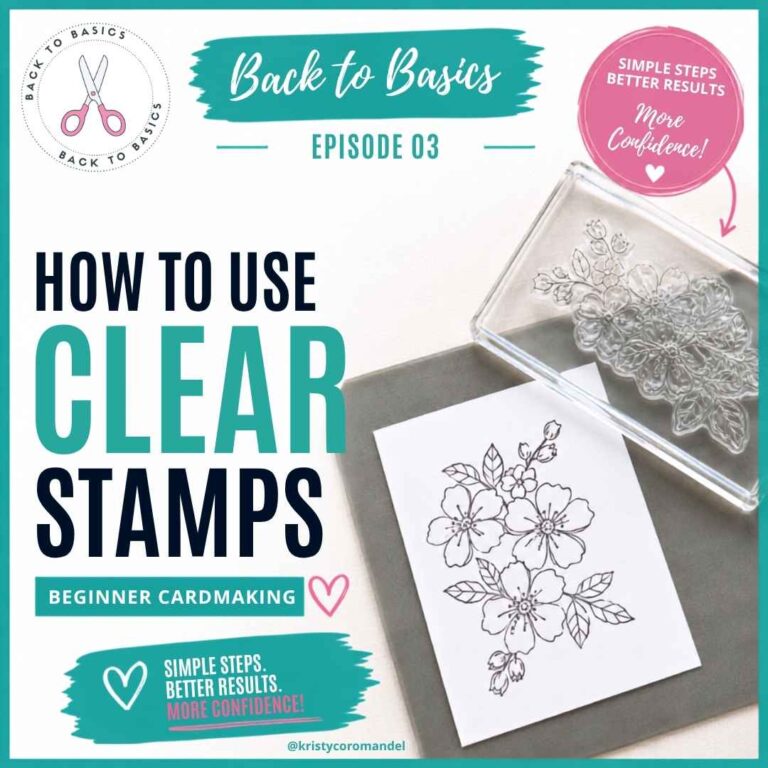
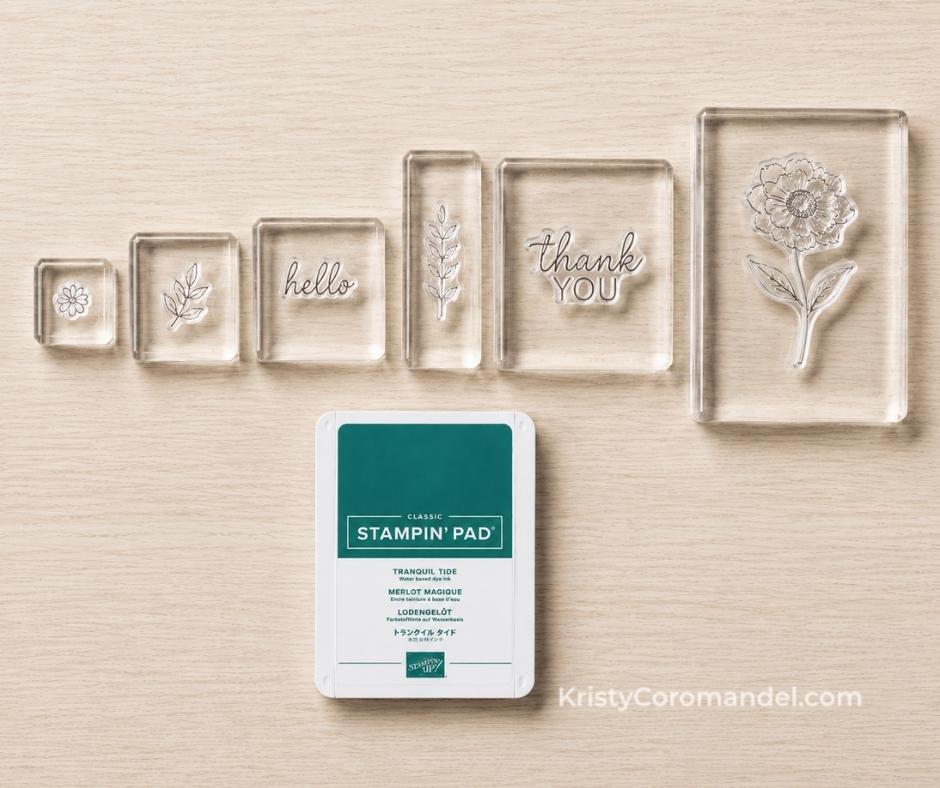
A stamping block is a clear acrylic handle that you press a photopolymer or cling stamp onto so you can position and stamp your image accurately.
Because the block is completely see-through, you can look straight down and see exactly where your stamp is landing on your card — which makes stamping in the right spot so much easier.
Here’s why beginners love them:
- They’re clear — you can see precisely where you’re stamping.
- No glue needed — the stamp clings to the acrylic on its own.
- They’re reusable — one block works for hundreds of different stamps.
- They give you control — think of the block as the handle that steadies your whole image.
The see-through acrylic is the whole point. Older wood-mounted stamps hid your image behind the handle — with a clear block, you can look right through to your cardstock and place it perfectly.
What You’ll Need
You don’t need much to get started — just a few essentials.
Essentials
- A set of clear acrylic Stampin’ Blocks
- A photopolymer or cling stamp set
- An ink pad
- Cardstock to stamp on
Optional Extras
- A block storage case or drawer (keeps them scratch-free and easy to grab)
- A soft cloth for keeping your blocks clean and clear
👉 Pro Tip: If you’re just starting out, you don’t need every size. Two or three blocks — a small, a medium and a large — will cover almost everything you make.
Step-by-Step: How to Use a Stamping Block
Don’t overthink this — it’s a five-second habit once you’ve done it a couple of times.
- Choose the right size block. Pick one that’s just slightly larger than your stamp (more on this below).
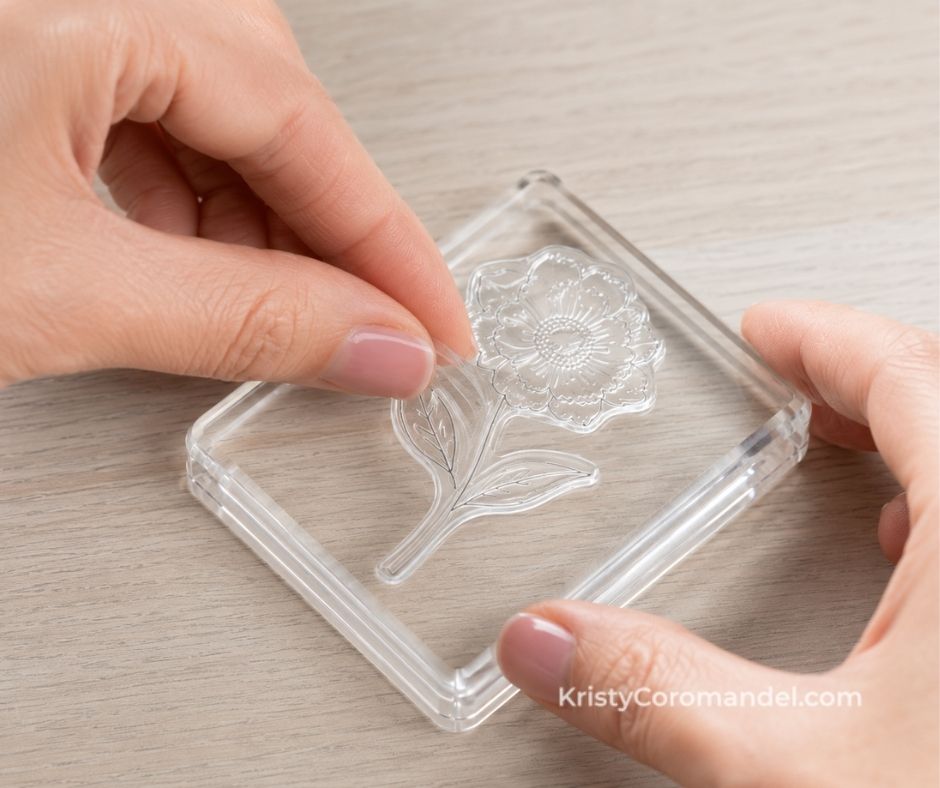
- Peel your stamp off its backing sheet. No glue needed.
- Press the stamp onto the block. It clings to the acrylic naturally.
- Ink your stamp. Tap the ink pad gently over the stamp until it’s evenly covered.
- Hold the block by the sides — not with one finger pressed on top.
- Stamp straight down, give an even press, and lift straight back up. No rocking or wiggling.
- Peel the stamp off and pop it back onto its storage sheet, ready for next time.
Which size block should I use?
This is the question that trips everyone up, and the answer is refreshingly simple: choose a block that’s just a little larger than your stamp.
- Small block → tiny sentiments, stars, little flowers, small decorative images.
- Medium block → most greetings and medium-sized images.
- Large block → background stamps and bigger focal images that need room.
That’s it. Match the block to the stamp, and you’re set.
Common Problems and How to Fix Them
- Problem: My stamp keeps sliding around on the block. Fix: Wipe both the block and the back of the stamp clean and dry — a bit of ink or dust stops them clinging. Clean acrylic grips beautifully.
- Problem: My stamped image is patchy or missing bits. Fix: That’s usually uneven pressure. Hold the block by the sides, press straight down evenly, and lift straight up.
- Problem: The block feels awkward and hard to control. Fix: You’ve probably sized up too far. Swap to the smallest block that comfortably fits your stamp.
- Problem: My stamp won’t cling back to its storage sheet. Fix: Make sure it’s clean and fully dry before you store it — sticky residue or moisture stops it settling back down.
This Week’s Project: A Simple Stamped Thank You Card
The best way to lock in a new skill is to use it — so here’s a gentle little card that lets you practise choosing the right block and stamping evenly.
You’ll Need
- A card base in your favourite colour
- A greeting/sentiment stamp
- A medium stamping block
- An ink pad
- A scrap of cardstock to test-stamp first
Steps
- Peel your sentiment stamp onto a medium block.
- Ink it up and do one test stamp on scrap paper — this shows you the exact placement.
- Position your block over the front of your card, look straight down to line it up, and stamp.
- Press evenly, lift straight up, and admire your crisp sentiment.
💡 Beginner Tip: Always test-stamp on scrap first. Because your block is clear, you can line up the test image exactly where you want it before you commit to your card front.
More Stamping Block Ideas to Try
One simple skill can create endless designs. Here are a few ways the right block makes different cards easier.
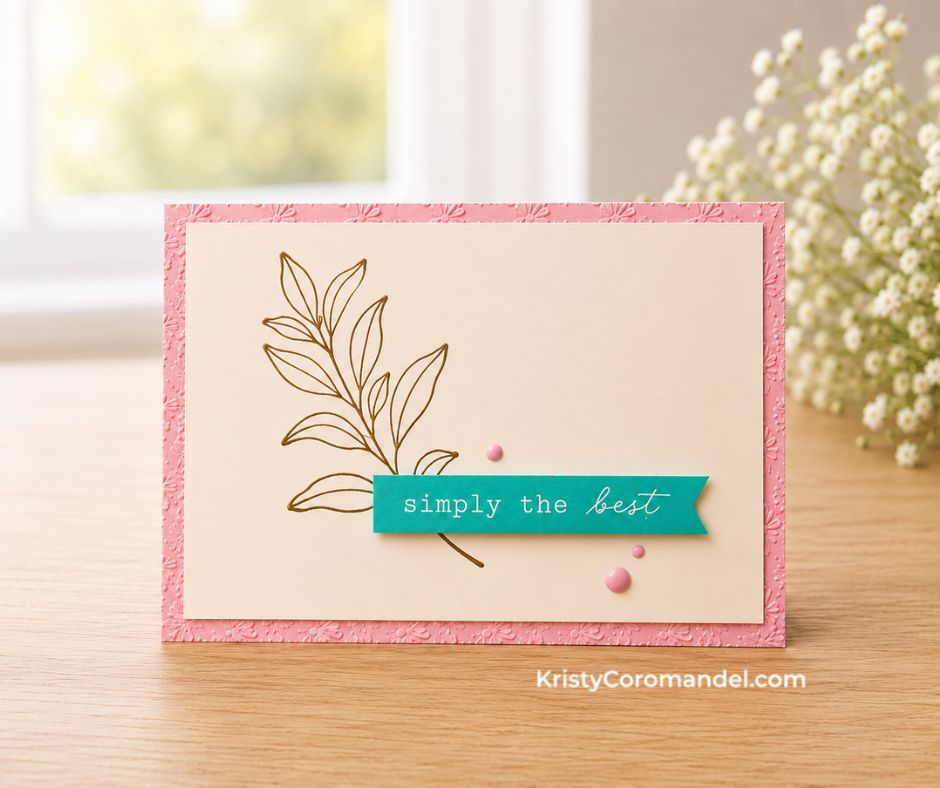
Classic Greeting, Medium Block
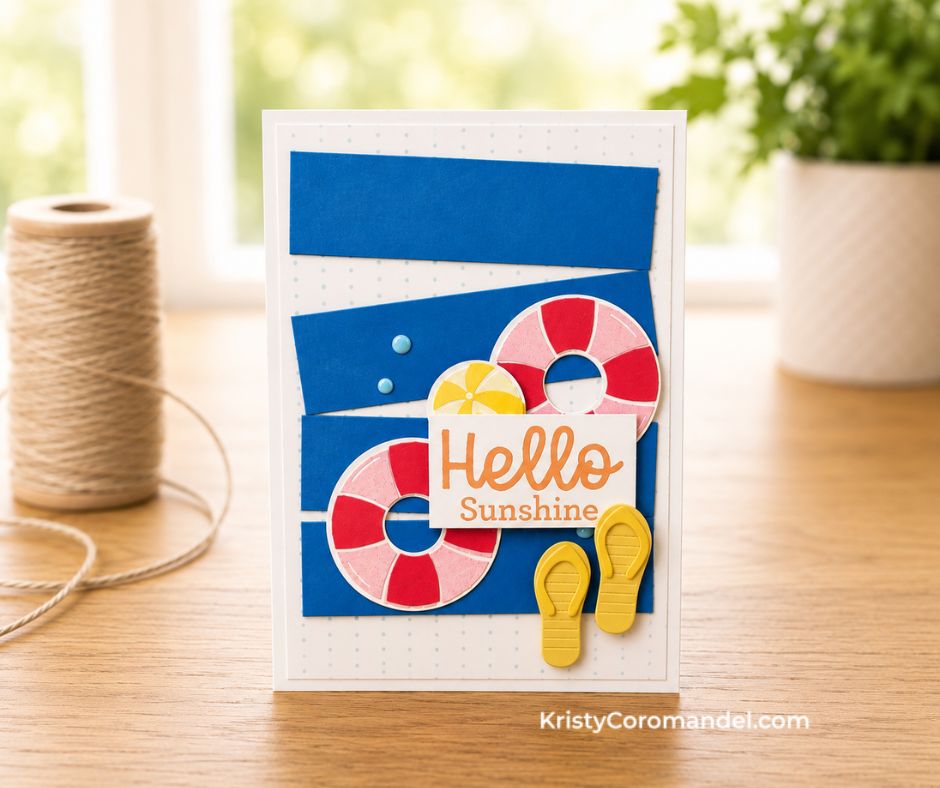
Bold Background, Large Block
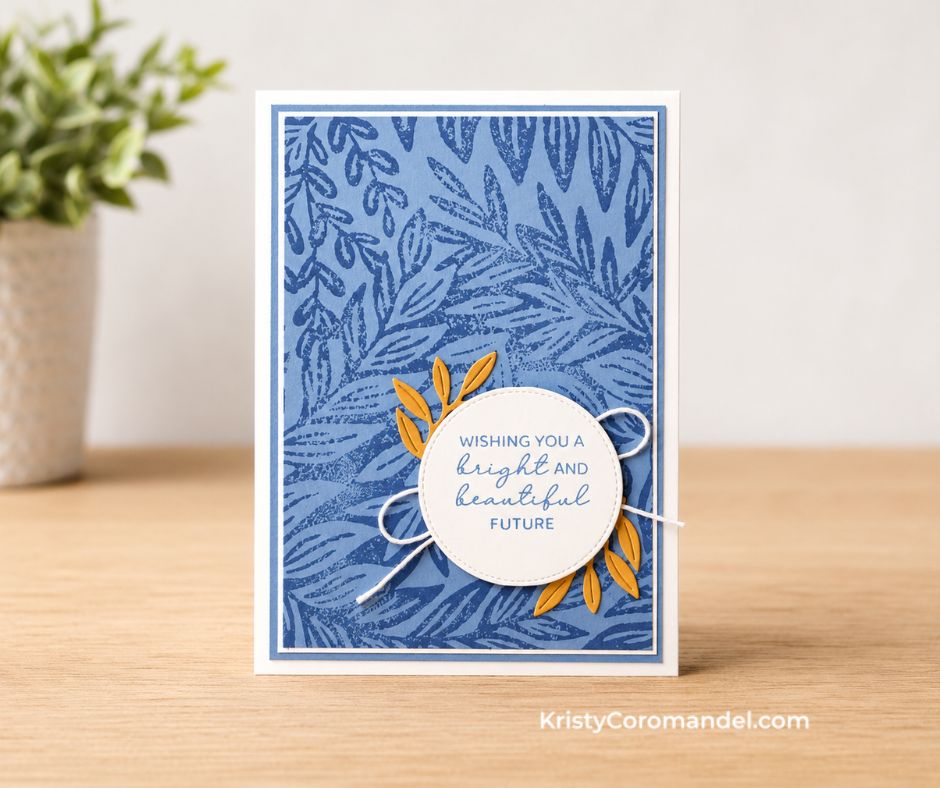
Repeated Pattern, Any Block
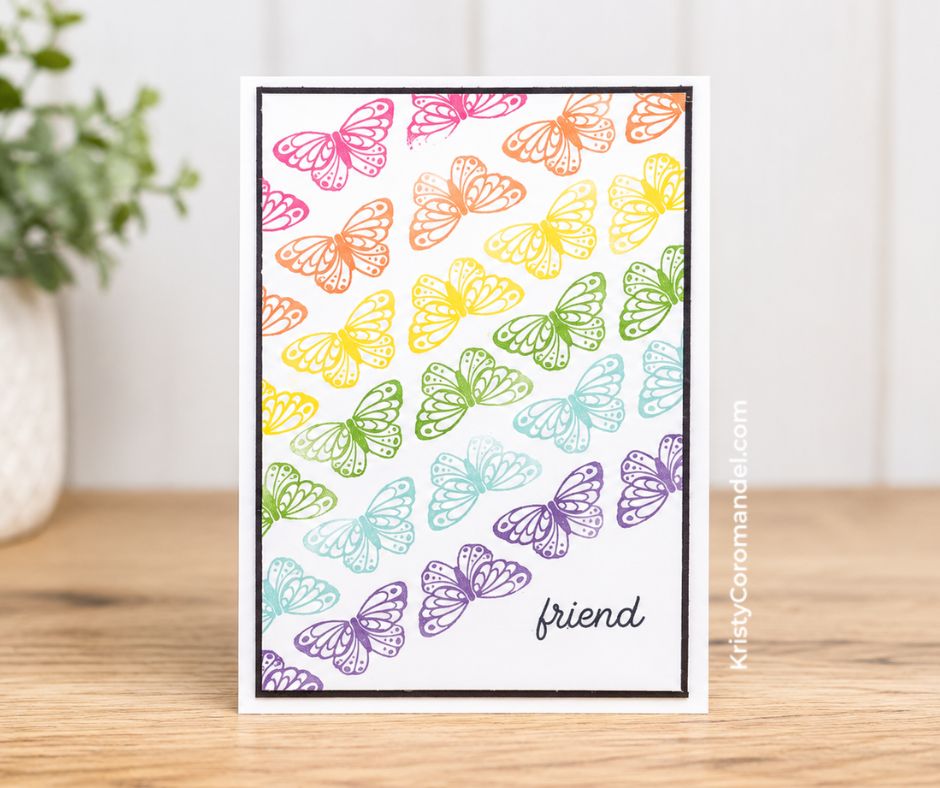
Myth: You need to own every size block to stamp properly.
Truth: Two or three sizes — small, medium and large — will handle almost everything you make. Build your collection slowly as you need it.
Frequently Asked Questions About Stamping Blocks
FAQs
Build Your Creative Confidence
Stamping blocks really are as simple as they look — a clear handle that helps you place your stamps exactly where you want them. Choose one just slightly bigger than your stamp, let it cling naturally, press evenly, and you’re away.
Give yourself permission to just try. Your first few stamps don’t have to be perfect — even the pros had their first slightly-wonky attempt. The more you play, the more natural it becomes.
💬 Tell me in the comments: which size block do you reach for most — or are you just starting to build your set?
Keep Learning
- New to stamping? Start with the card base basics so your foundation is solid.
- Ready for the next step? Choosing the Right Cardstock for Your Cards pairs perfectly with this lesson.
- Want to go deeper with blocks and precise stamping? Stamping Blocks
- When you’re ready to take your skills further, the deeper stages live inside Paper Crafter’s Academy — no pressure, just there when you want it.